



BLACK FRIDAY

2× credits on new plans, plus 2× packs for subscribers. Ends Dec 1.

Ends Dec 1, 11:59 pm PTGet 2× credits

Upscale Image for Printing

Choose your print width, height, and PPI to see whether your image has enough pixels. If it falls short, check the smallest available factor and download a larger PNG.

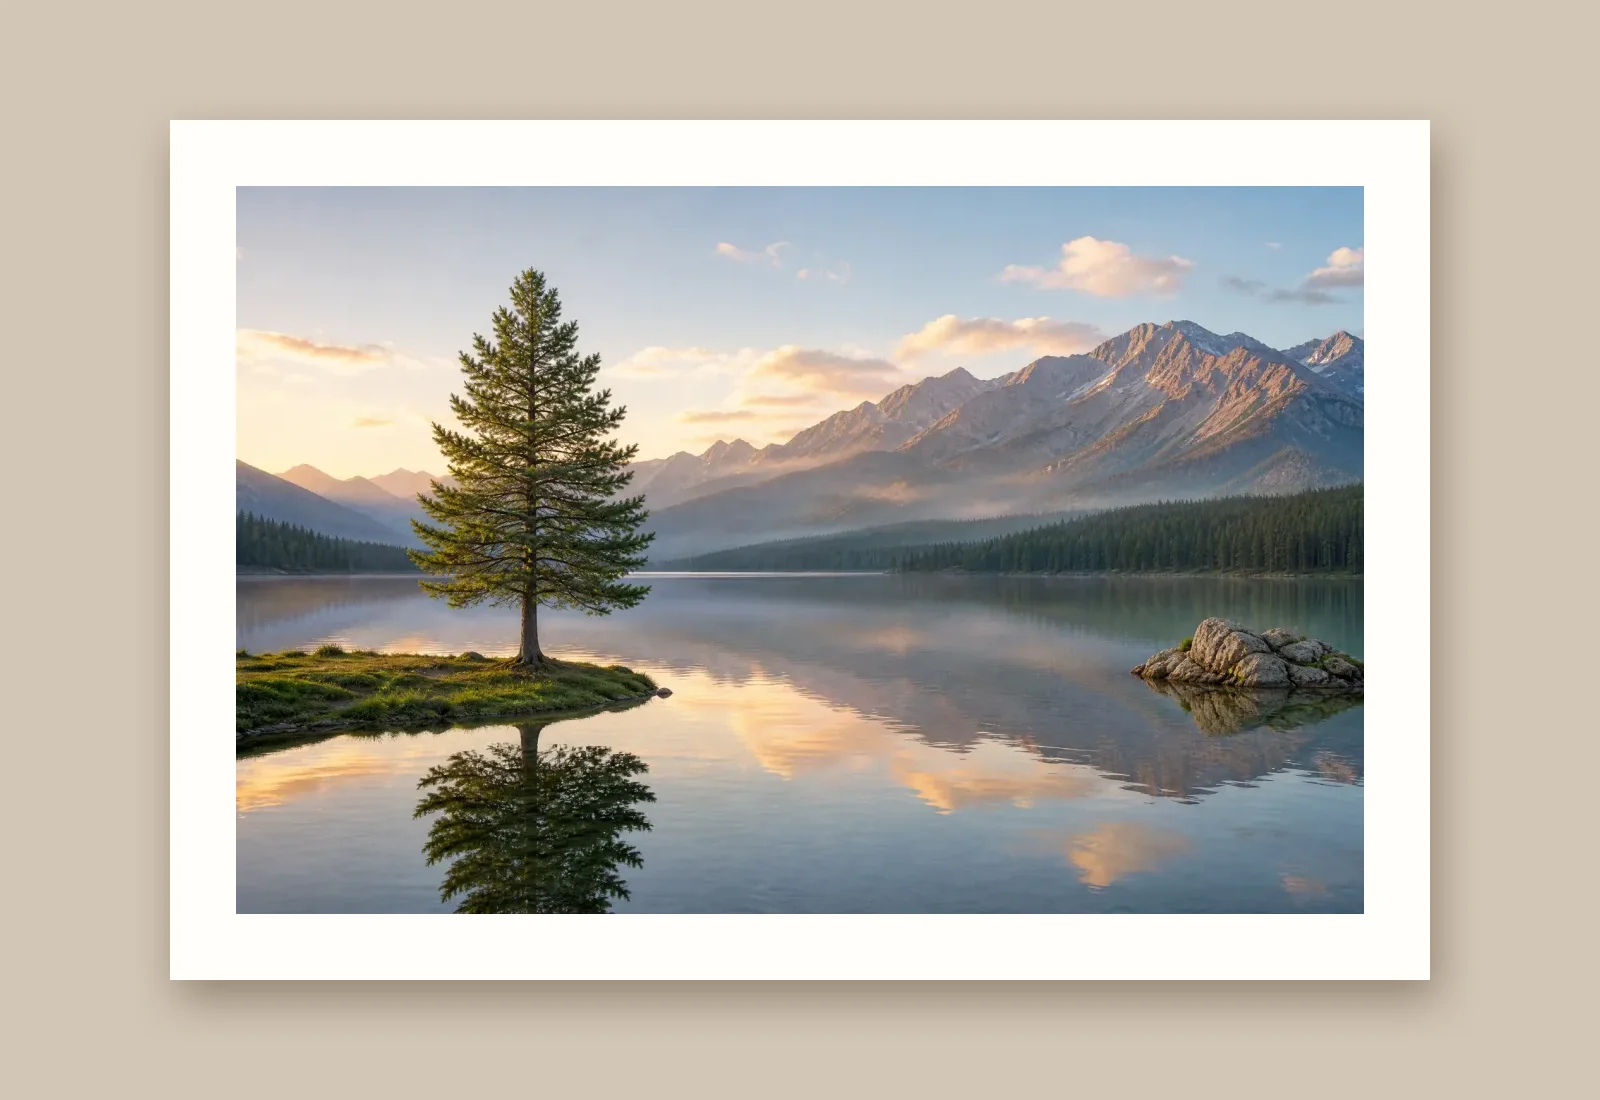
A mountain lake photograph centered inside a white print border
Mode
Upscale factor

Optional setting for images that show people. Leave it off for images without people.

Requires purchased credits
Output
—
Cost
—
  • Inches or centimeters
  • Adjustable PPI
  • Original proportions

See it in action

Before and after with the image upscaler for printing

Compare a portrait, a wave, an illustration and a product photo before and after enlargement. Each example shows how the pixel dimensions translate to print size at a given PPI. Inspect the enlarged file at the scale you intend to print.

Larger coastal portrait showing the hair and fabric for a photo print
Source portrait of a copper-haired woman by the sea
BeforeAfter

A widescreen photo print

This portrait went from 1920 × 1080 to 3840 × 2160 pixels. The larger frame can supply a 12.8 × 7.2 inch print at 300 PPI.

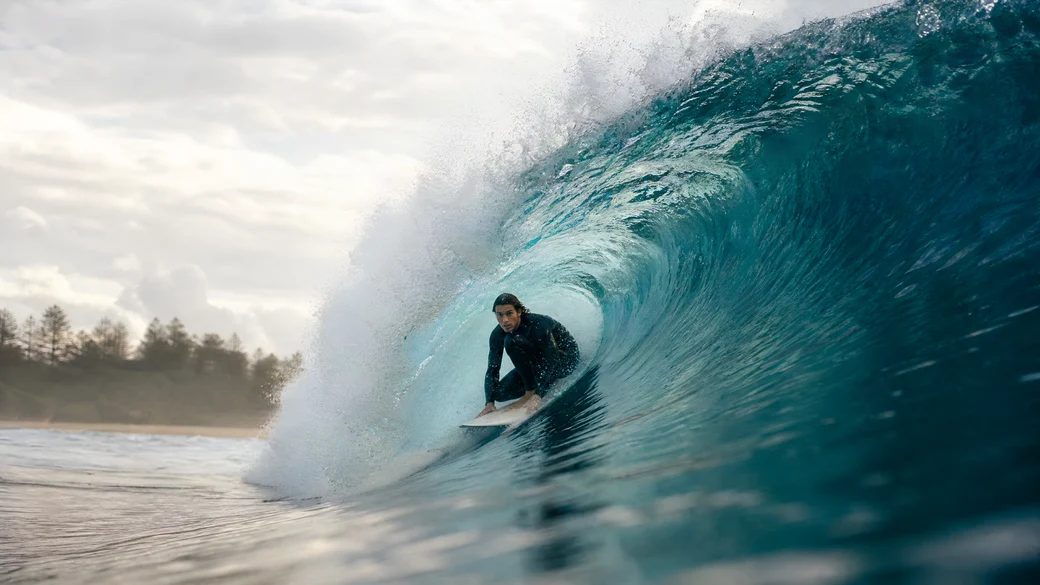
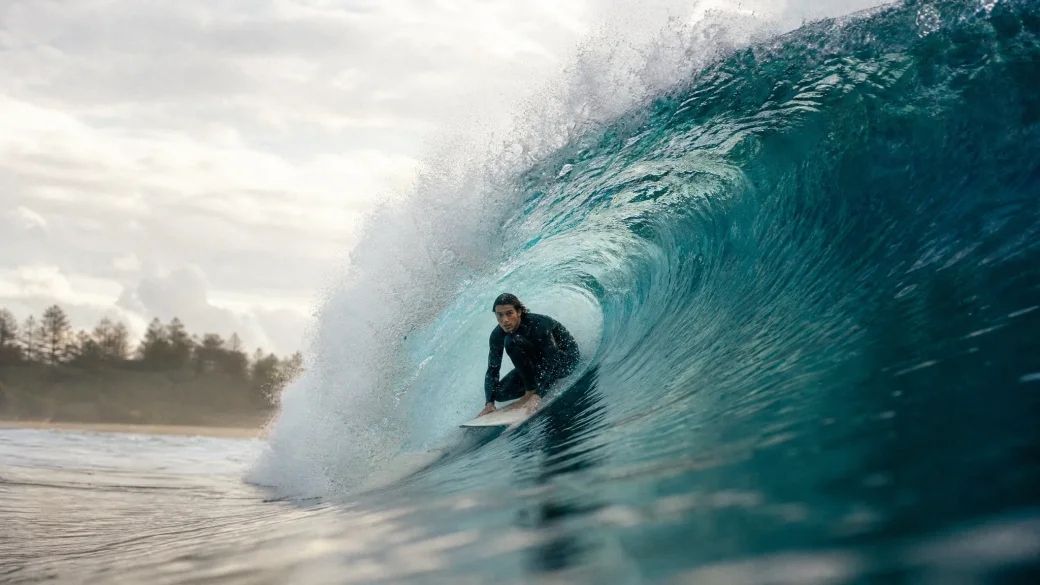
Enlarged surfing photo with spray and the edge of the breaking wave
Original photo of a surfer inside a breaking wave
BeforeAfter

A coastal action poster

A 2560 × 1440 photograph was enlarged to 5120 × 2880. That supplies 320 PPI on a 16 × 9 inch print with the same proportions.

Matching enlarged character detail showing the red scarf and line art
Detail of a red-scarf character from the original illustration
BeforeAfter

Illustration for an art print

An illustration enlarged to 3840 × 2880 provides 320 PPI on a 12 × 9 inch print. These matched detail crops show the face and scarf.

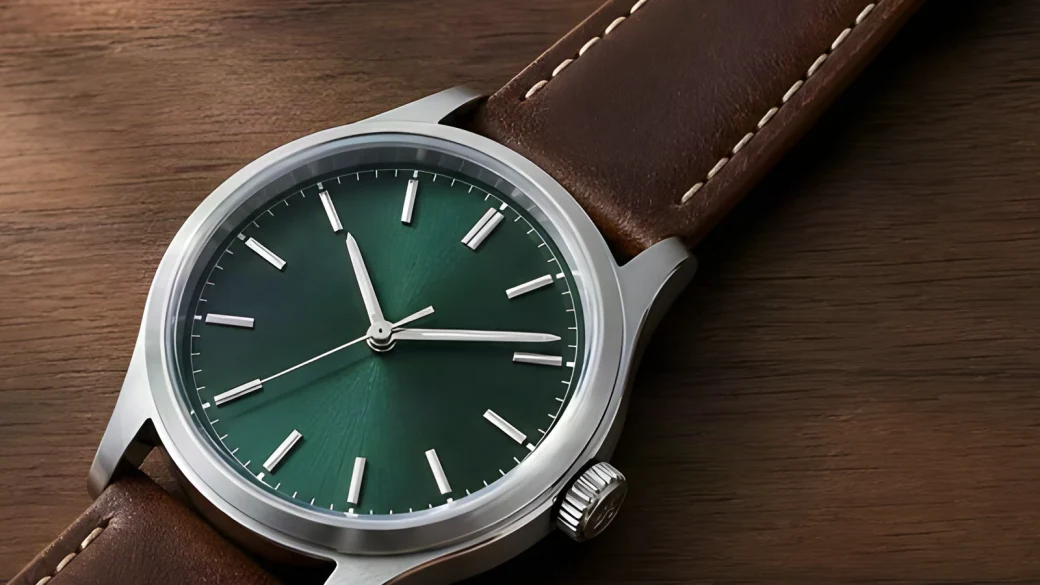
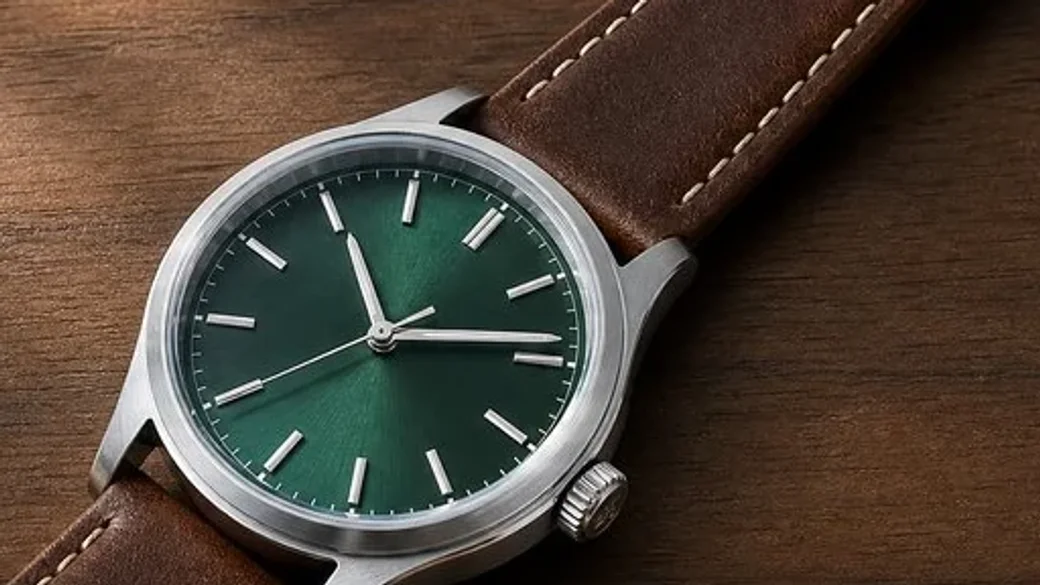
Larger watch image showing the dial, hands and leather stitching
Original product photo of a watch with a green dial
BeforeAfter

A catalog product photo

The larger watch image is 3840 × 2880. At 12 × 9 inches, it supplies 320 PPI for a catalog layout. Inspect the dial and stitching.

Features

Set your paper size and PPI in the image upscaler for printing

The image upscaler for printing starts from the paper size and PPI to estimate the pixel target. Its recommendations reflect your layout choice, the source dimensions and the factors available for that image.

Turn inches or centimeters into a pixel target

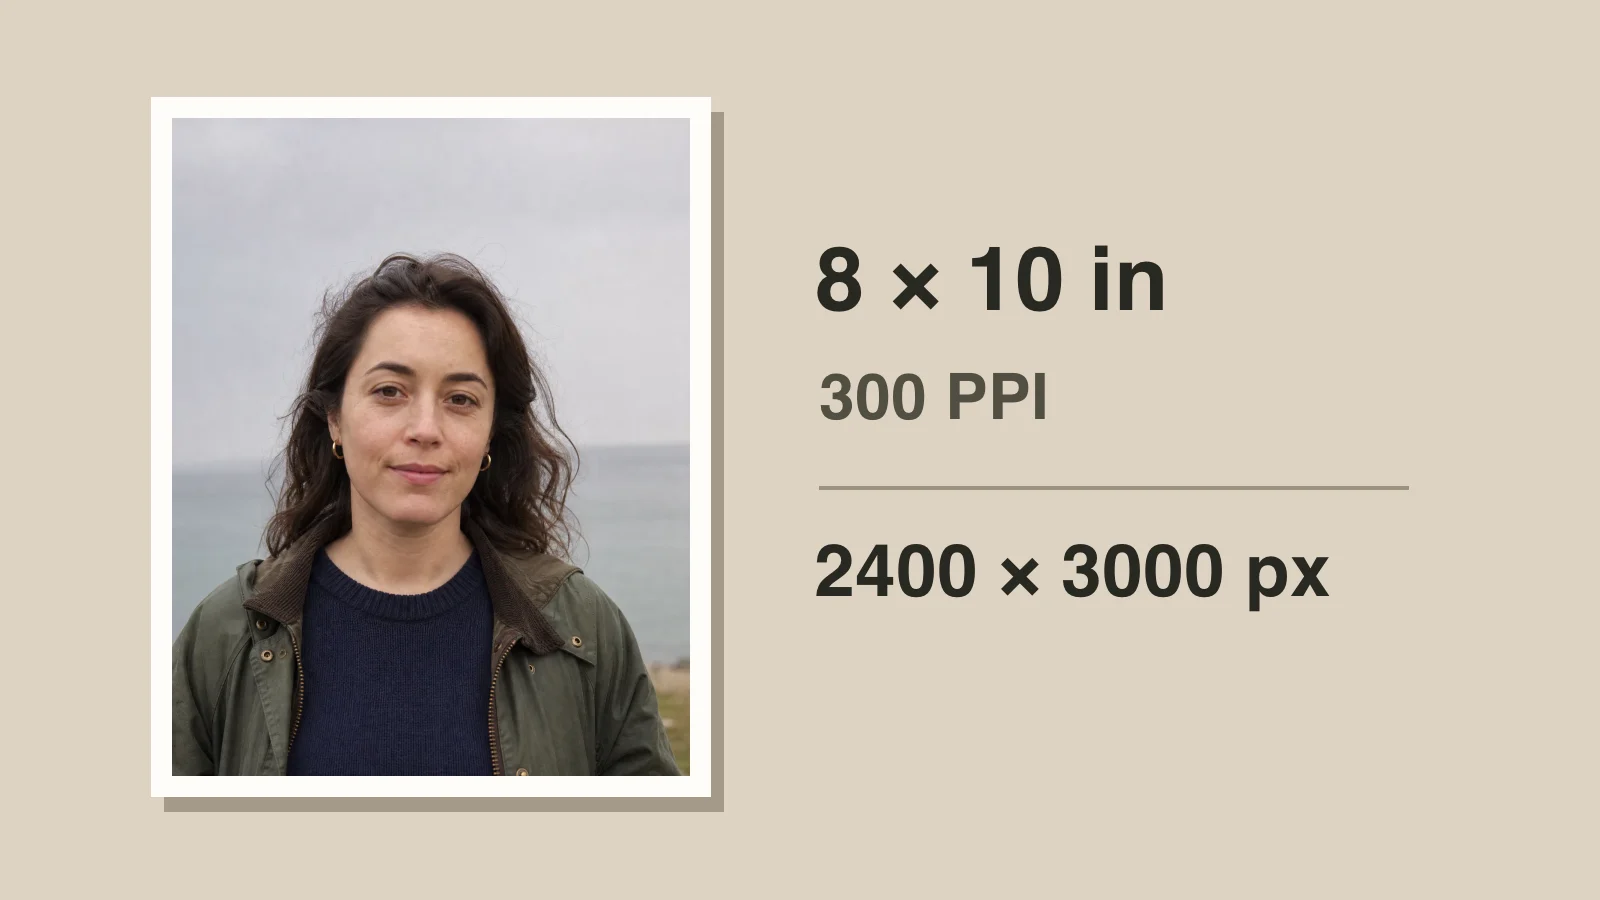
Enter the finished paper dimensions and the PPI from your printer. The planner converts the size to inches and multiplies each side by PPI. To upscale your image for printing at 8 × 10 inches and 300 PPI, aim for 2400 × 3000 pixels across the full paper area.

Check my print size
An 8 by 10 inch print at 300 PPI needs 2400 by 3000 pixels.

See what the paper shape changes

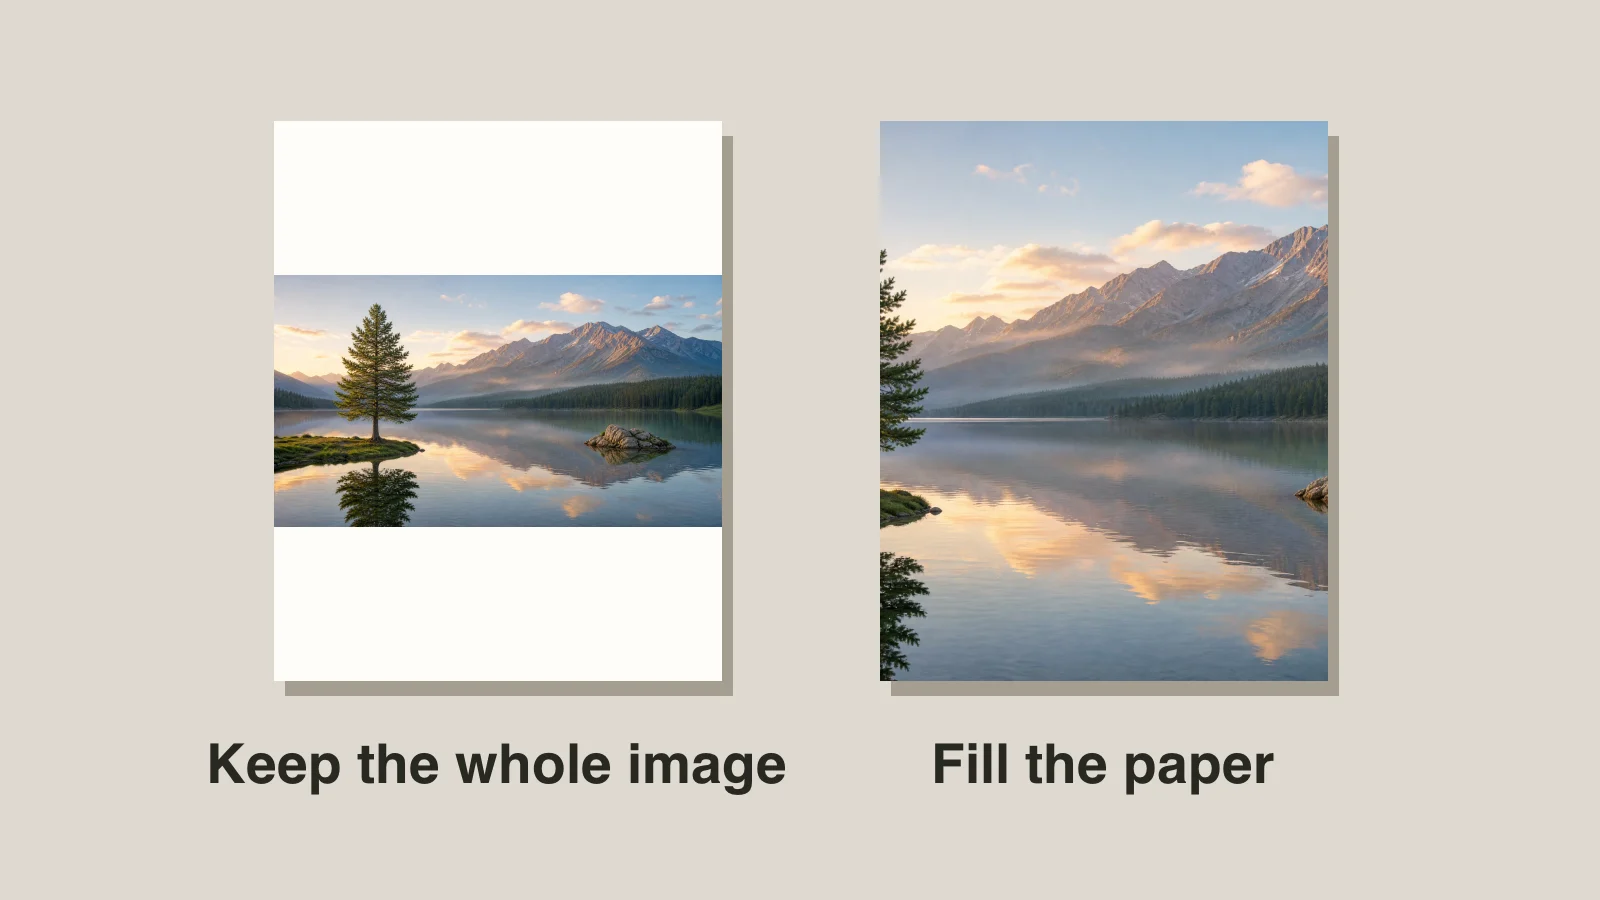
While planning the print, keep the whole image to allow for borders, or choose a layout that fills the paper and allows a crop later. Whether you upscale an image for printing with borders or plan a tighter crop, the PNG keeps the full frame and original proportions. Review the estimate before deciding what to trim in your layout editor.

Check my print size
The same landscape fits the page with white borders or fills it with a crop.

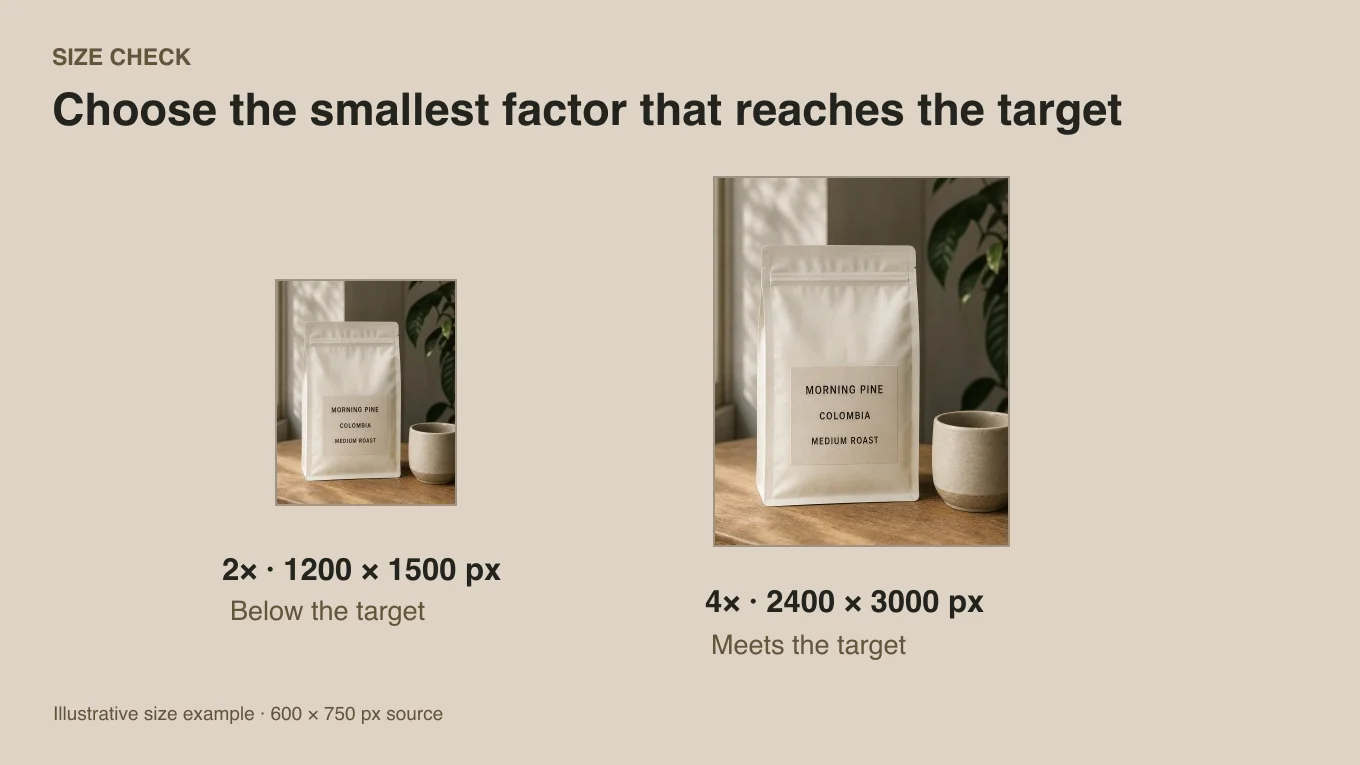
Use the smallest factor that can reach the target

The planner compares the target with the available factors. If you upscale the image for printing, choose a displayed factor that gives you enough pixels for the layout. If the target is beyond the available factors, try a smaller print or use the lower PPI requested for that job.

Check my print size
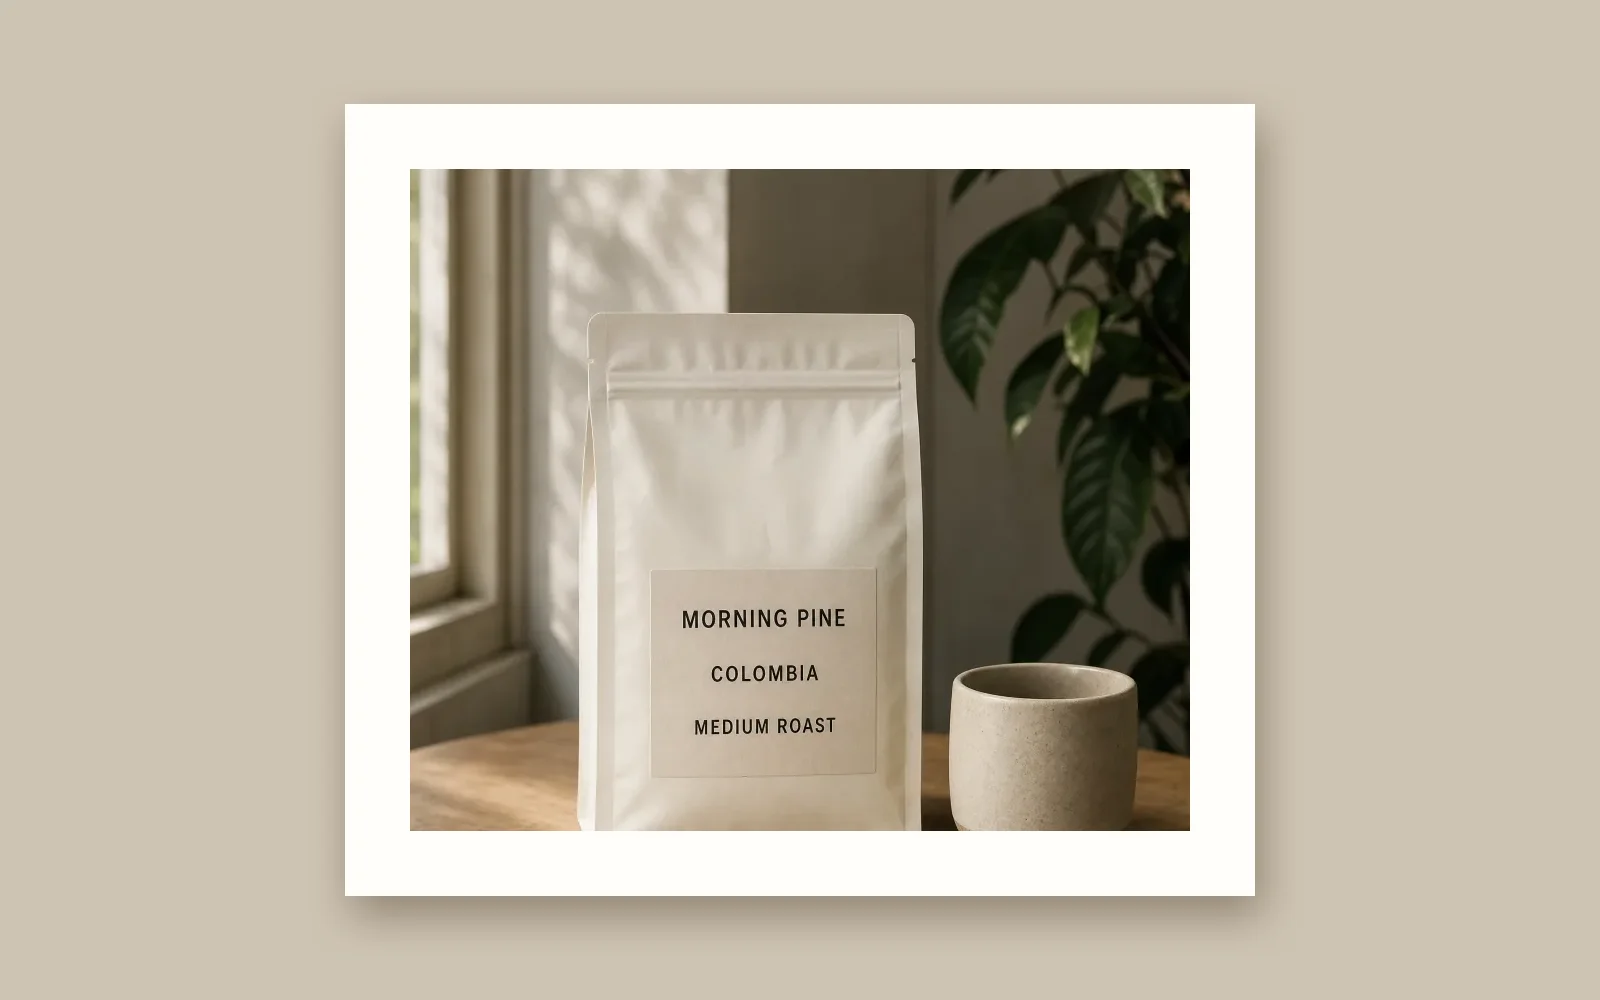
Coffee package size example: a 600 × 750 source reaches the 2400 × 3000 pixel target at 4×.

Save a larger PNG for the print layout

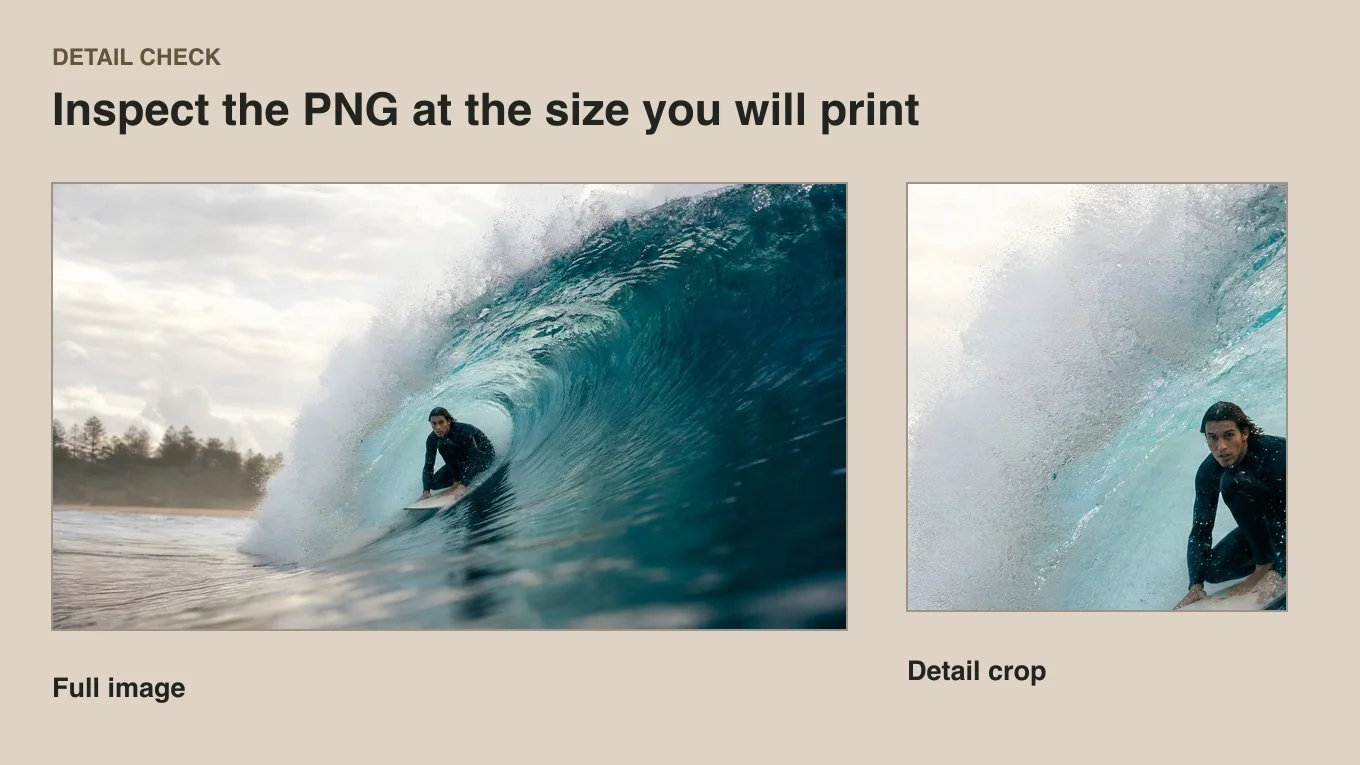
Compare the output dimensions with your layout before you upscale the image for printing. After upscaling, download the PNG and place it at the intended size. Check text, edges, grain, and faces in the area you plan to print, especially for a large or important order.

Check my print size
Surfing photograph alongside a detail crop of the breaking wave for a print check.

How it works

How to use the image upscaler for printing

Use the image upscaler for printing with your source photo and the print shop’s specifications. You can see whether to keep the original or make a larger PNG for the layout.

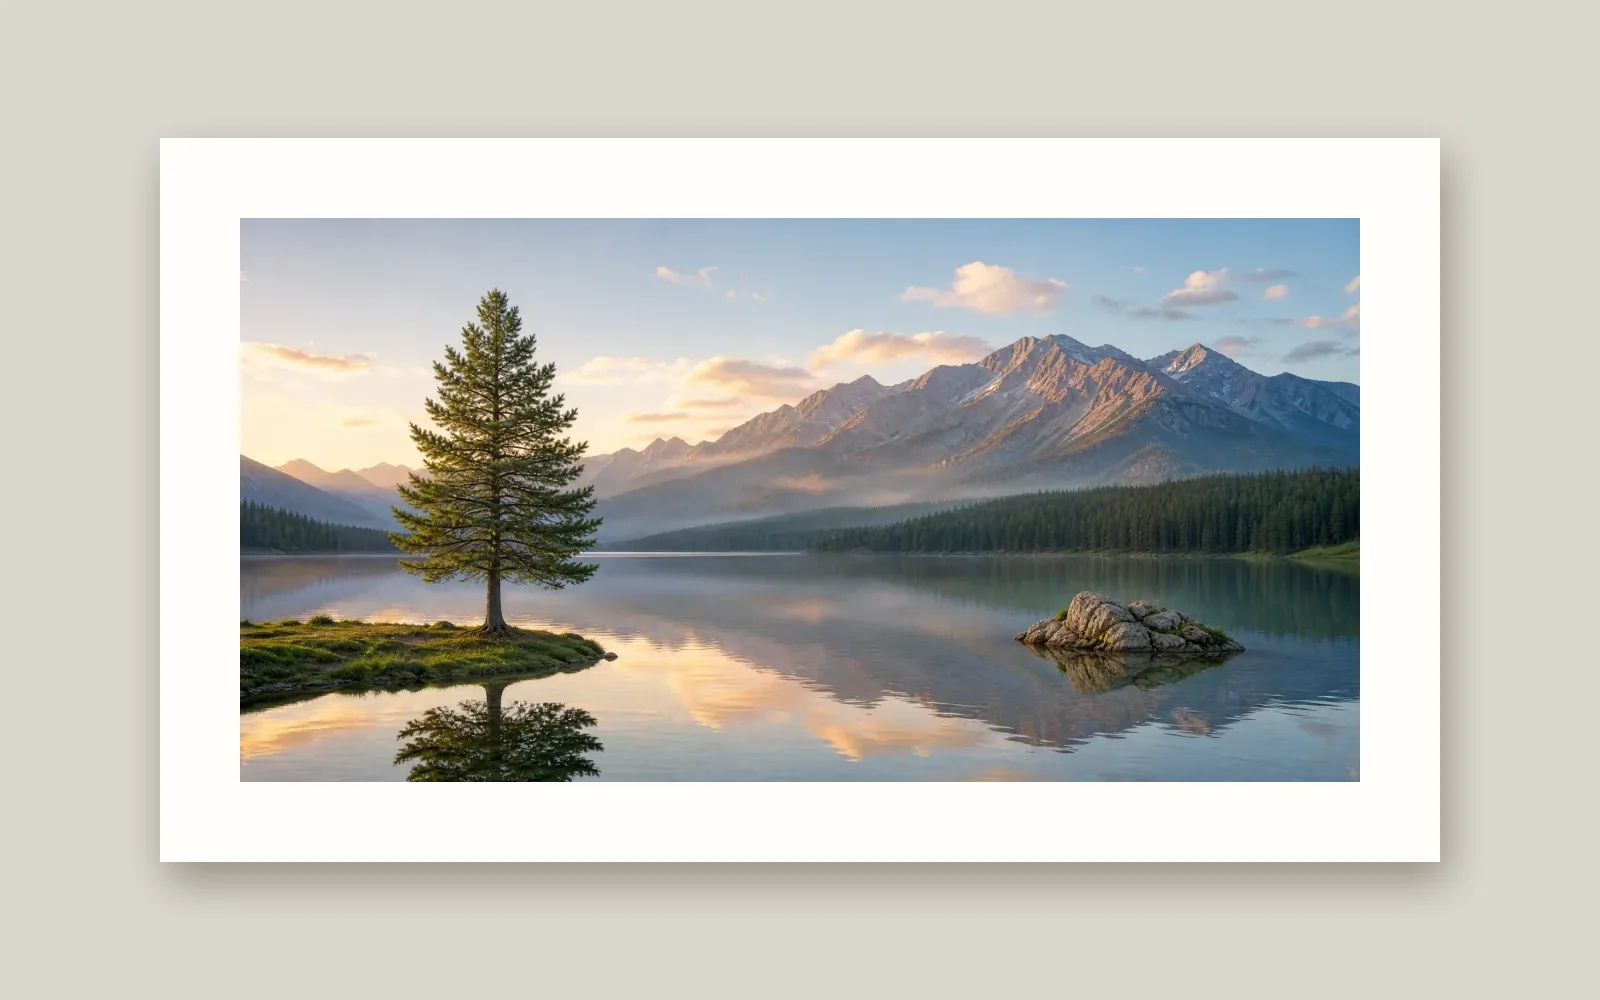
The same mountain lake picture inside a wide print layout
  1. 1

    Upload the source image for your print

    Pick a JPG, PNG, or WebP of the photo or art you want to use. The workspace reads the actual pixel dimensions, which determine how large the picture can appear on paper at your chosen density.

  2. 2

    Enter the finished print size

    To upscale an image for printing, start with the dimensions your lab will use. Set the width and height in inches or centimeters and use the PPI your printer requests. Choose whether to keep the whole image with borders or plan for a later crop that fills the print. Review the target pixels and suggested factor.

  3. 3

    Keep the original or save a larger PNG

    A source that meets the target is ready for your layout. Upscale the image for printing at the suggested factor when the source falls short. Save the PNG for your layout. Set borders or crop the image when you place it in your print layout.

Use cases

When to use the image upscaler for printing

Before you upscale an image for printing, decide how much of the sheet the picture fills. The size and viewing distance make a different pixel target for each job.

Photo prints and photo books

For a photo book, upscale an image for printing based on the size of its slot, especially on pages with more than one photo. A 4 × 6-inch image area at 300 PPI uses 1200 × 1800 pixels. If the slot crops the photograph, look at faces near the edge before you place the image.
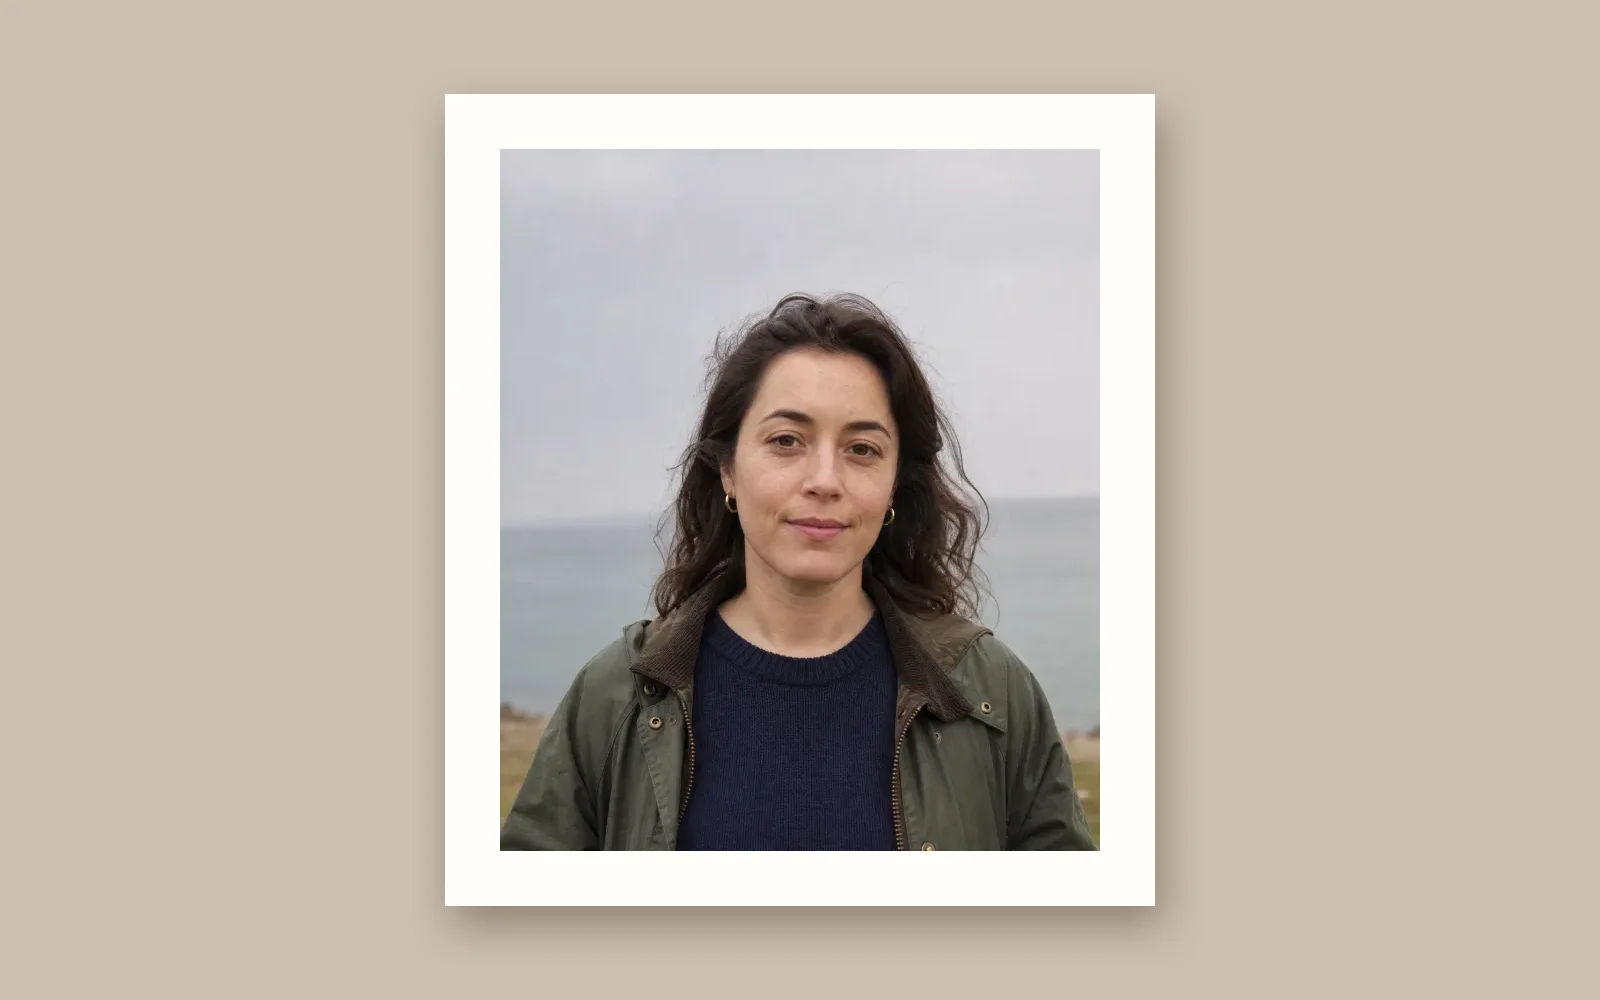
A portrait centered on a white photo print

Wall prints and posters

To upscale an image for printing on a poster, use the size and PPI specified by the print shop. A poster viewed at a distance may use a lower pixel density than a small photo. Compare the available factor with the requested dimensions before sending the file.

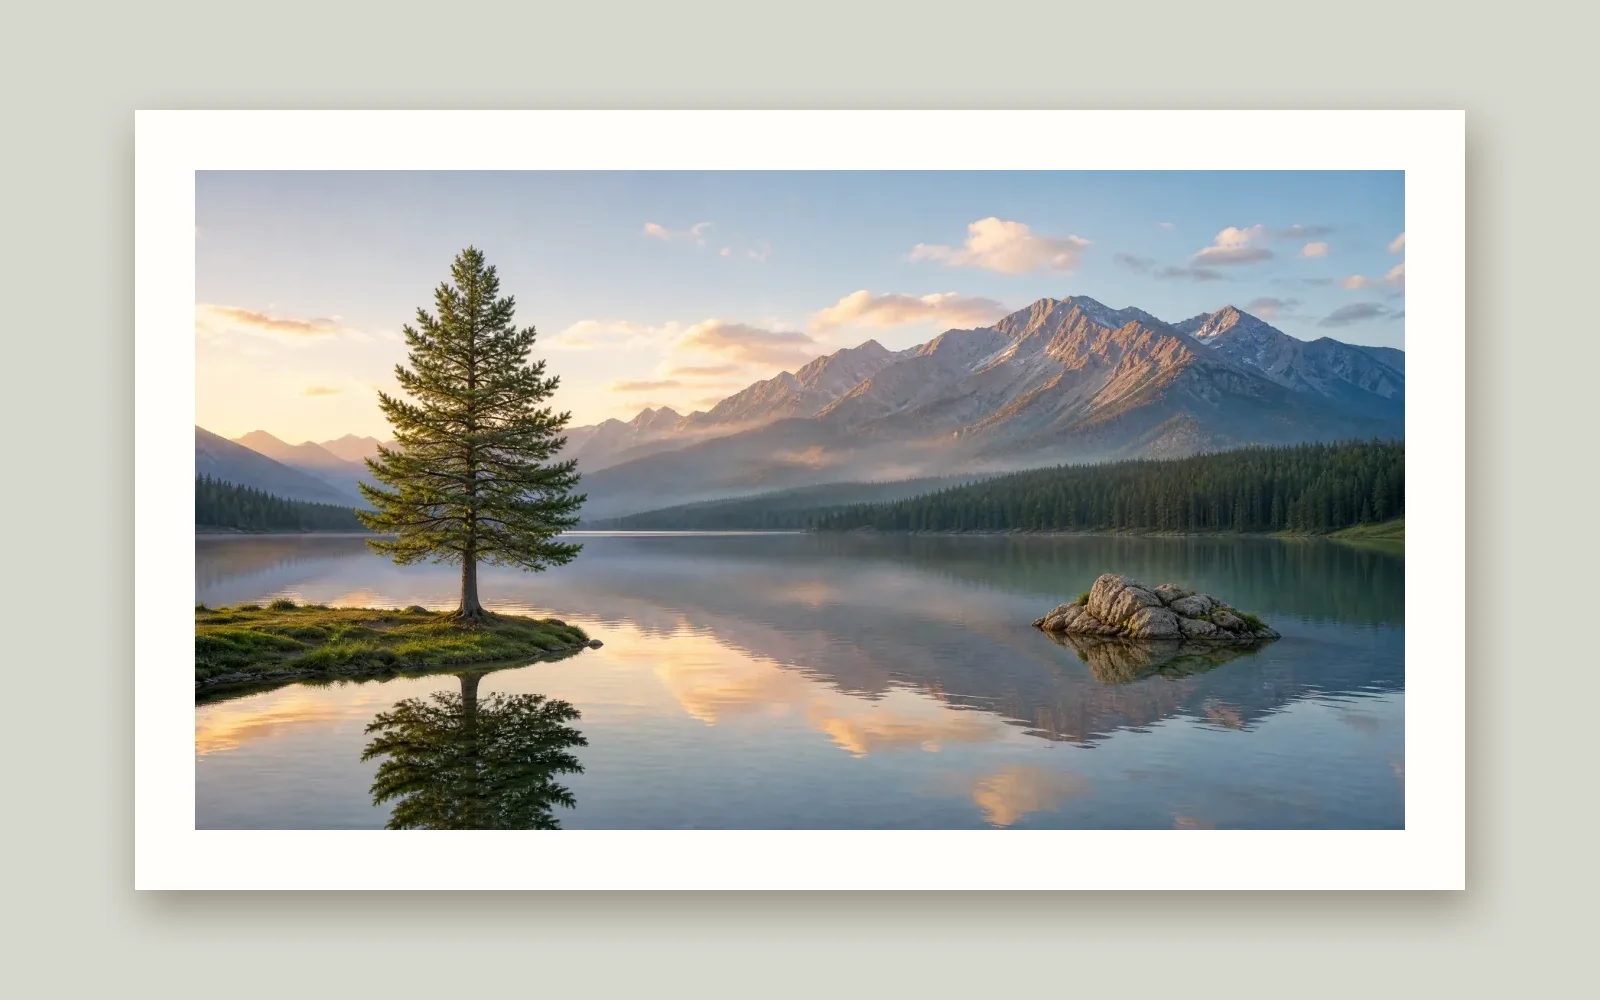
A lakeside landscape inside a wide white poster border

Art prints and illustration

To upscale an image for printing as an art print, start from your cleanest source. Check delicate line work and flat colors at the intended size. When the paper and artwork have different proportions, center the artwork and leave a border in your layout.

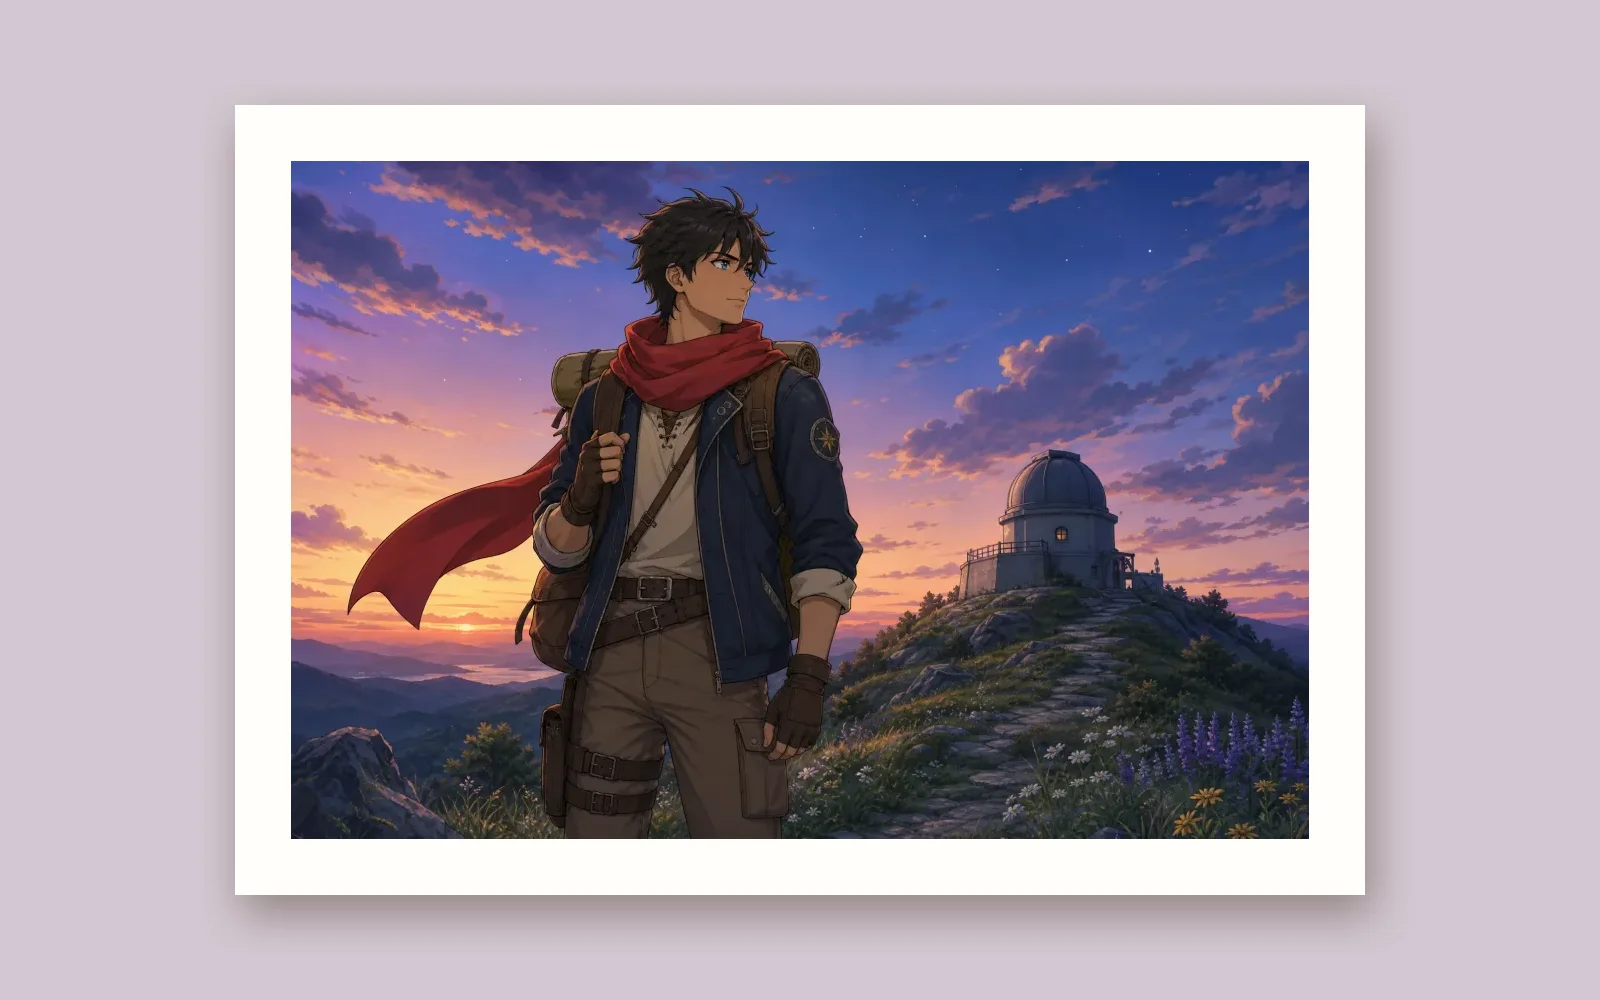
A sunset illustration positioned on a white print

Printed product pages

Use the size of the actual image area, rather than the whole page, to estimate the pixel target. Check labels and small type in the enlarged file before it goes into a catalog or printed handout.

A coffee package photograph framed on a white page

Creator stories

How printmakers upscale images for printing

“I needed to upscale an image for printing after picking an eight by ten frame for a family photo. I entered the size and the pixel density from the lab, then made a larger PNG for the order. Having the pixel dimensions in front of me made it easier to choose the file before uploading it to the lab.”
Sofia BennettFamily Photographer

FAQ

Image upscaler for printing FAQ

Your finished size and density set the pixel target in the image upscaler for printing. See how to choose between keeping the whole frame and planning a crop.

An image upscaler for printing estimates the pixels a physical print needs from its dimensions and PPI. If your source is smaller than that target, choose an enlargement and download the larger PNG for your layout.

Reviewed by Super Resolution TeamUpdated

Try the image upscaler for printing on your next photo

Upload a photo and enter the finished size and PPI to see whether the original will work. When you upscale the image for printing, use the larger PNG as the starting point for your page or print layout.

Check my print size