BLACK FRIDAY

2× credits on new plans, plus 2× packs for subscribers. Ends Dec 1.

Ends Dec 1, 11:59 pm PTGet 2× credits

Portrait Upscaler

Enlarge a still portrait without cropping the frame. Choose a factor, review the optional Enhance faces setting, and download the enlarged photo as a PNG.

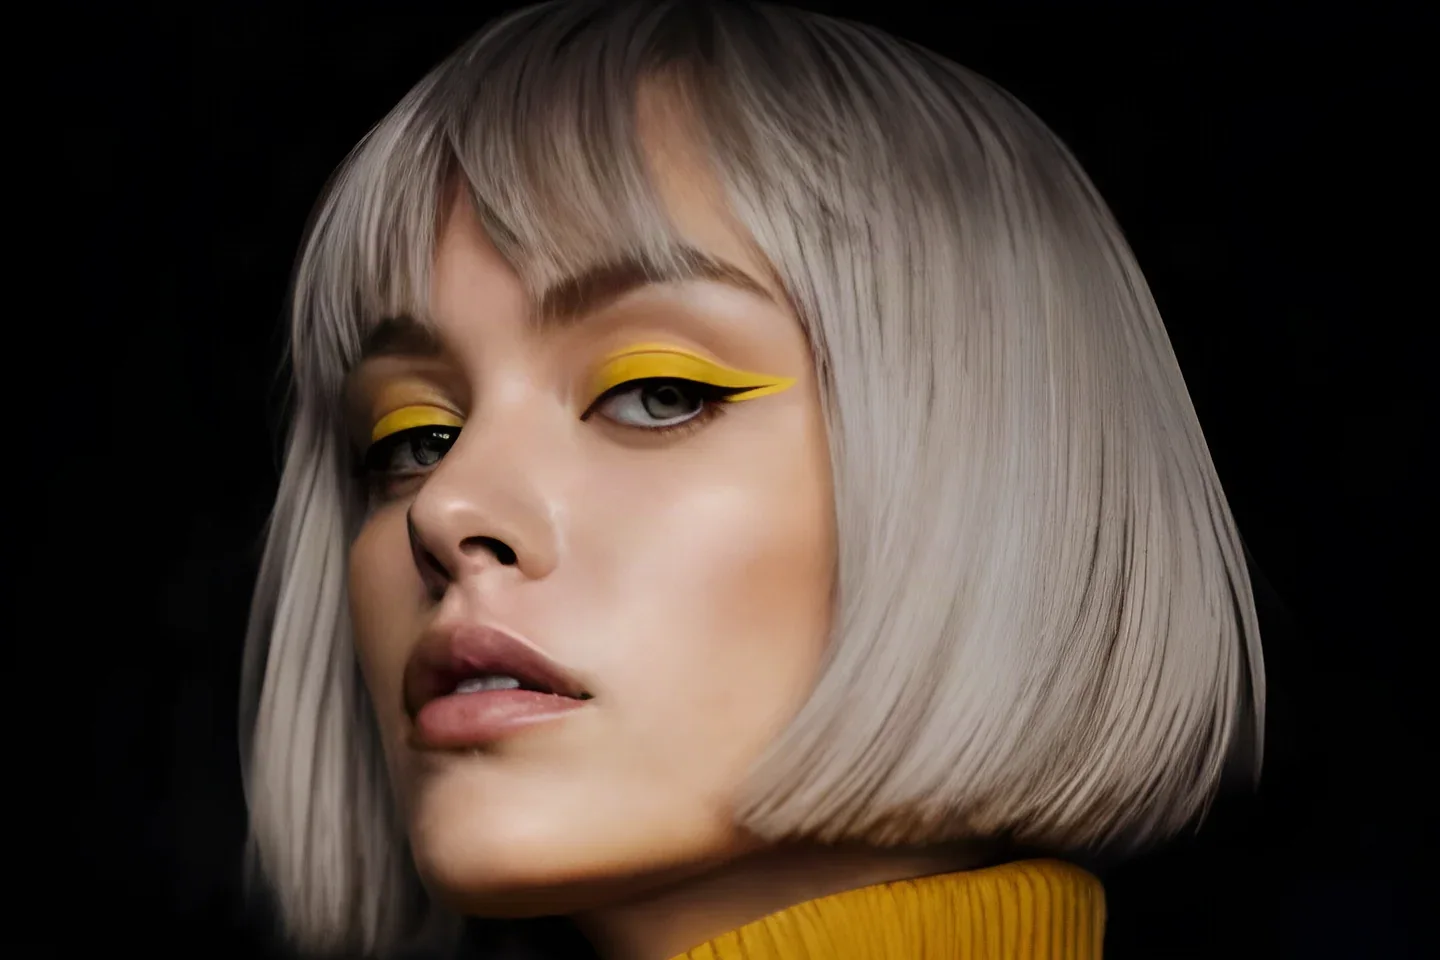
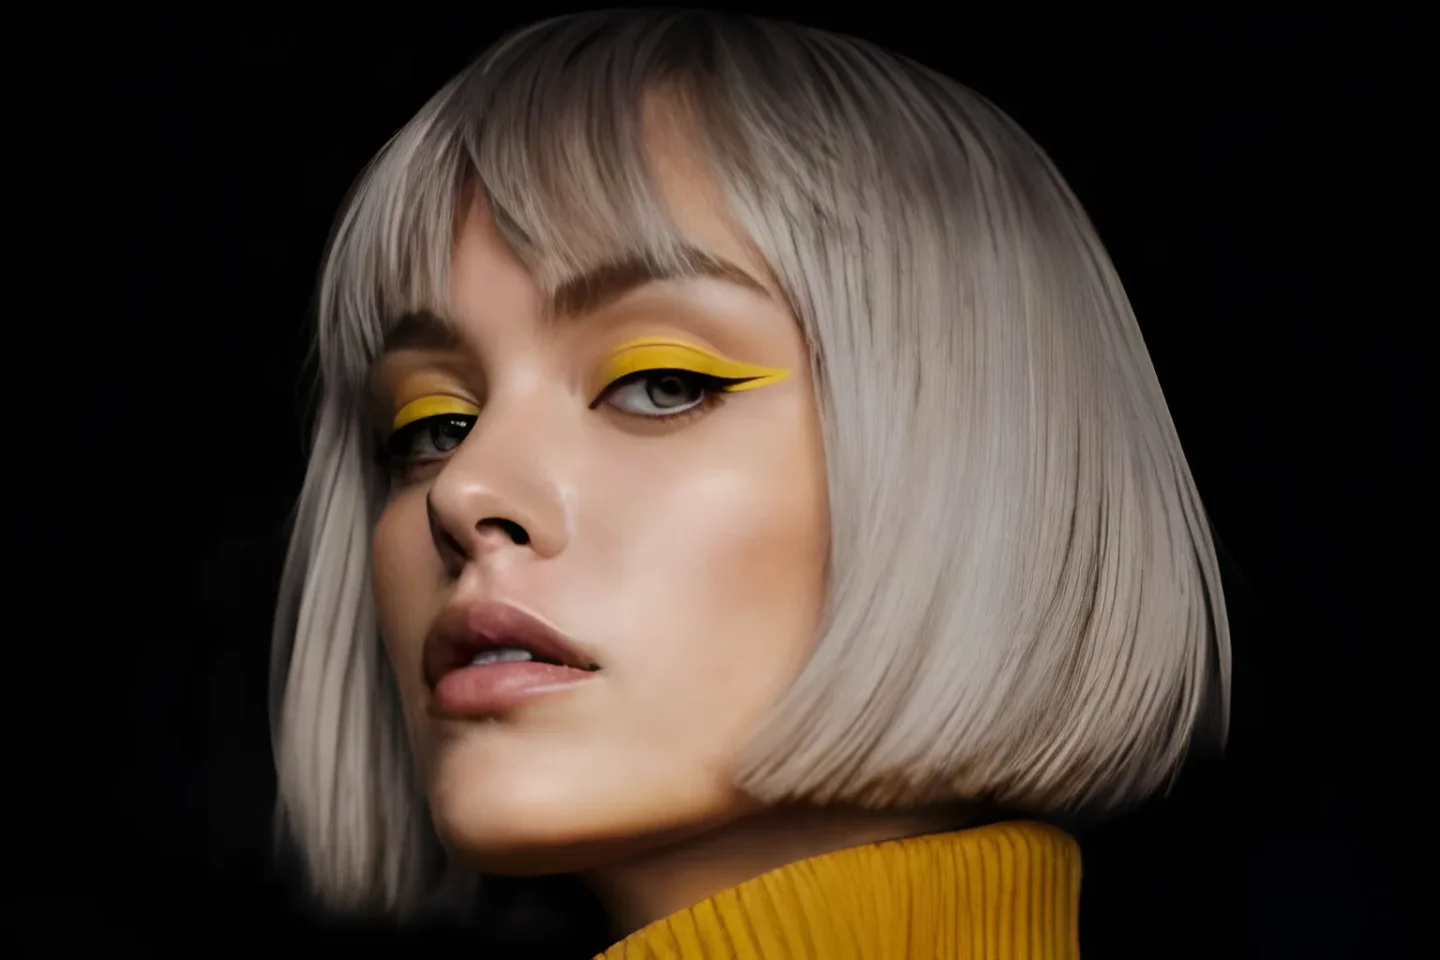
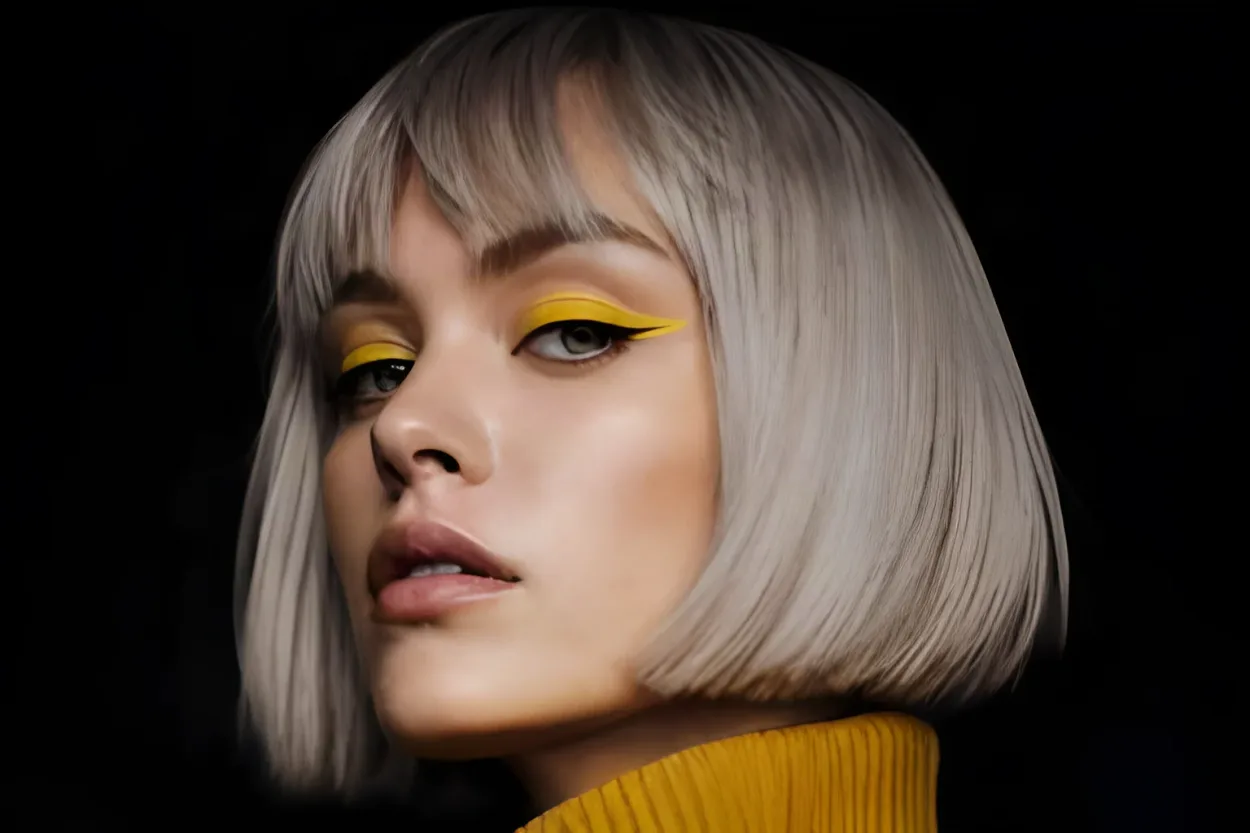
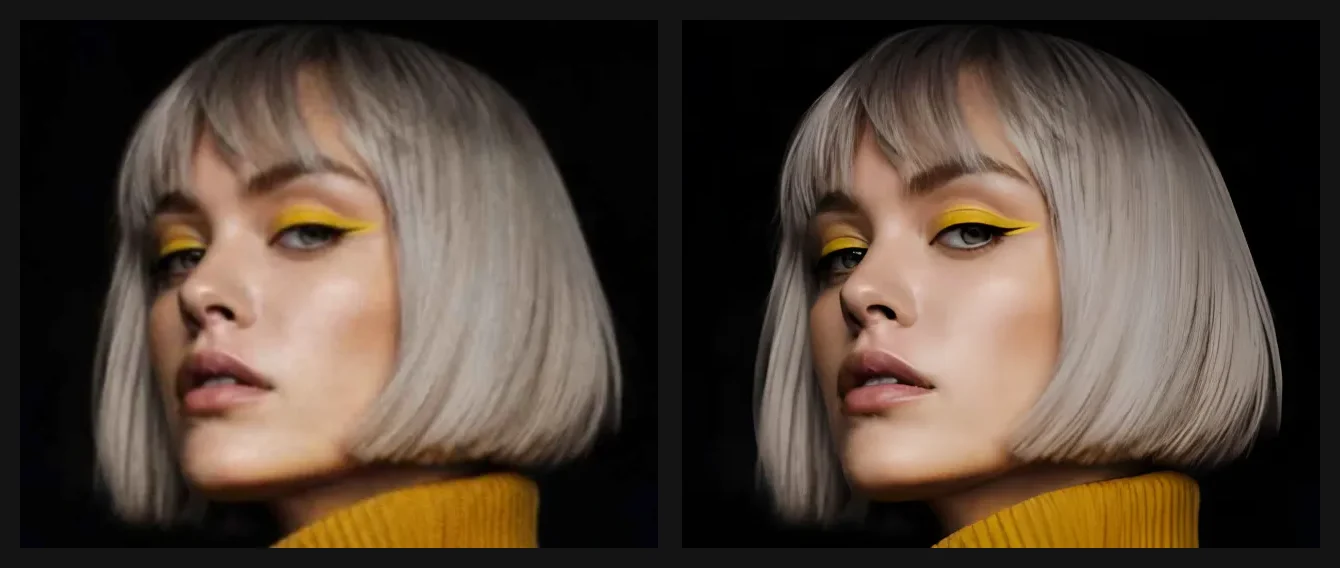
The same silver-haired portrait crop after a 2× Photo upscale
Lower-resolution crop of a woman with silver hair and yellow eye makeup
Source detail2× · Enhance faces off
Mode
Upscale factor

Optional setting for images that show people. Leave it off for images without people.

Requires purchased credits
Output
—
Cost
—
  • Full-frame upscale
  • Optional face enhancement
  • PNG download

See it in action

Portrait upscaler results before and after

Check the eyes, hair and edges in these actual results. Each example states which face setting was used.

Photo 2× close-up showing silver hair and yellow eye makeup
Original close-up of a woman with a silver bob and yellow eye makeup
BeforeAfter

A silver-haired headshot

A 768-by-512-pixel source became a 1536-by-1024-pixel image at 2× with Enhance faces off.

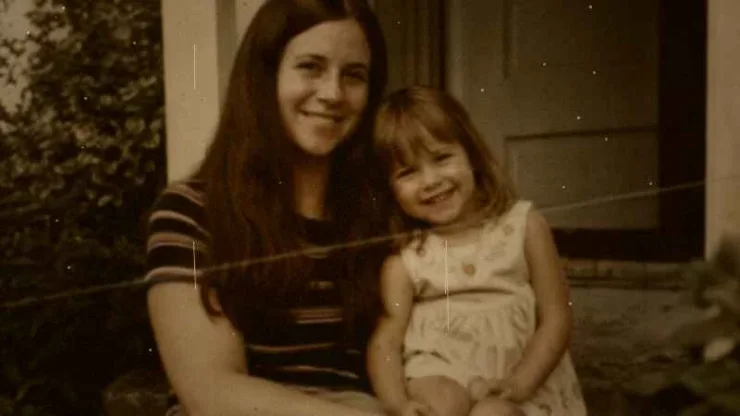
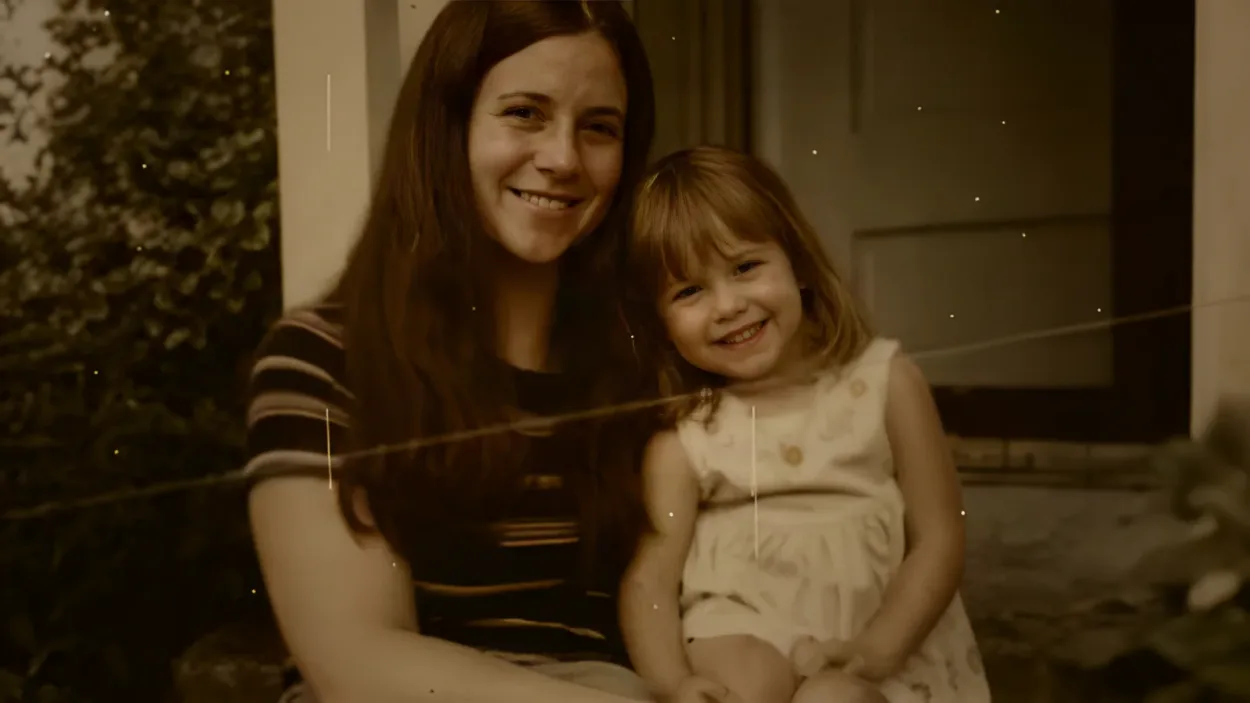
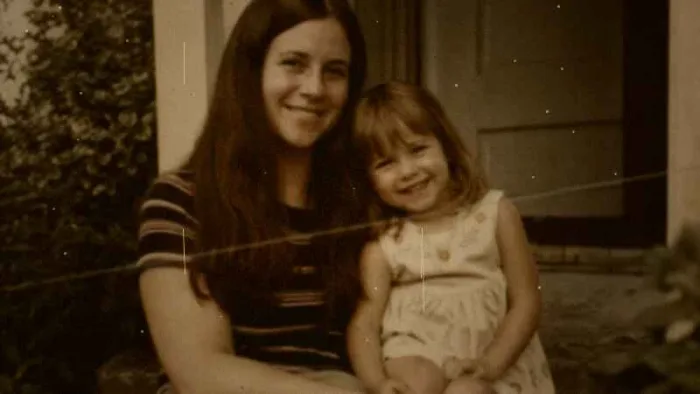
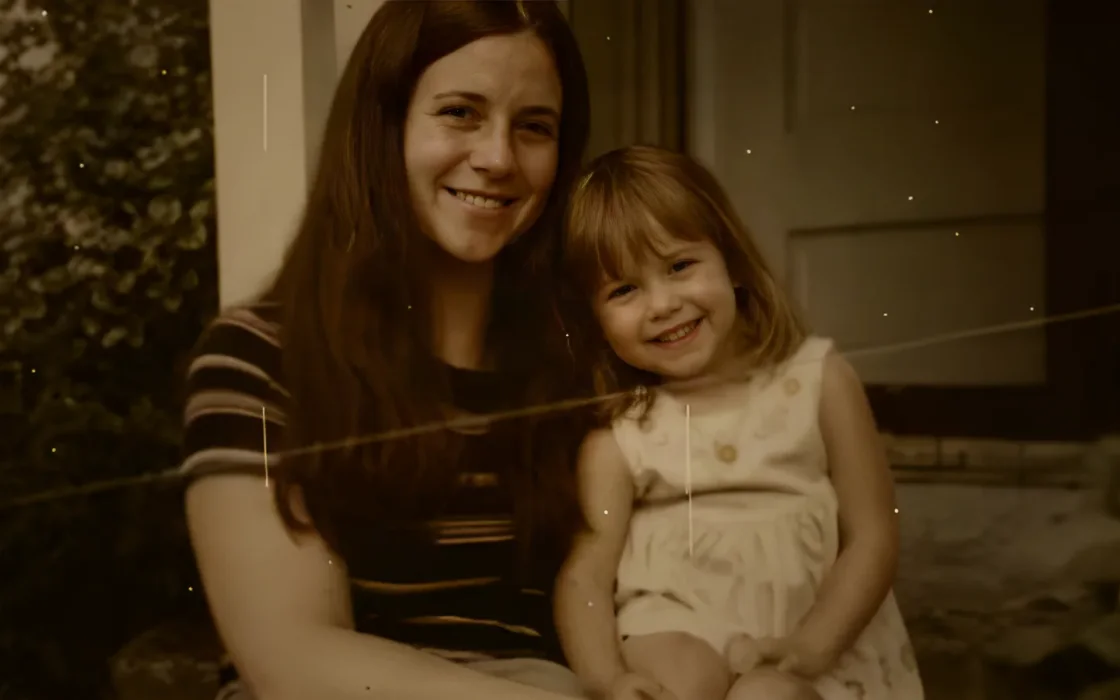
Larger family portrait showing both faces and the remaining crease
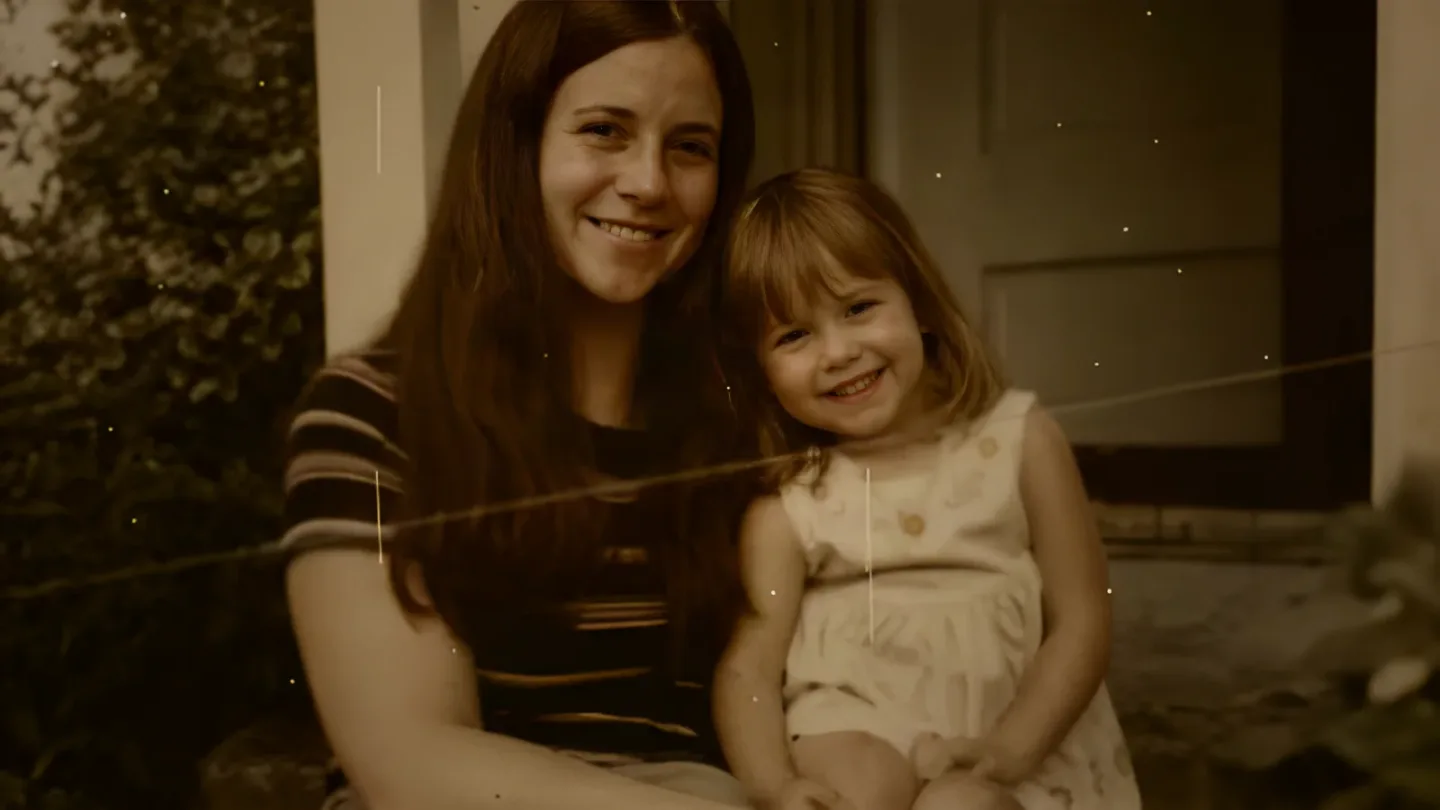
Soft family photo of a mother and child with a visible crease
BeforeAfter

A soft family photograph

An 800-by-450-pixel source became a 1600-by-900-pixel image at 2× with Enhance faces on. The original crease remains visible.

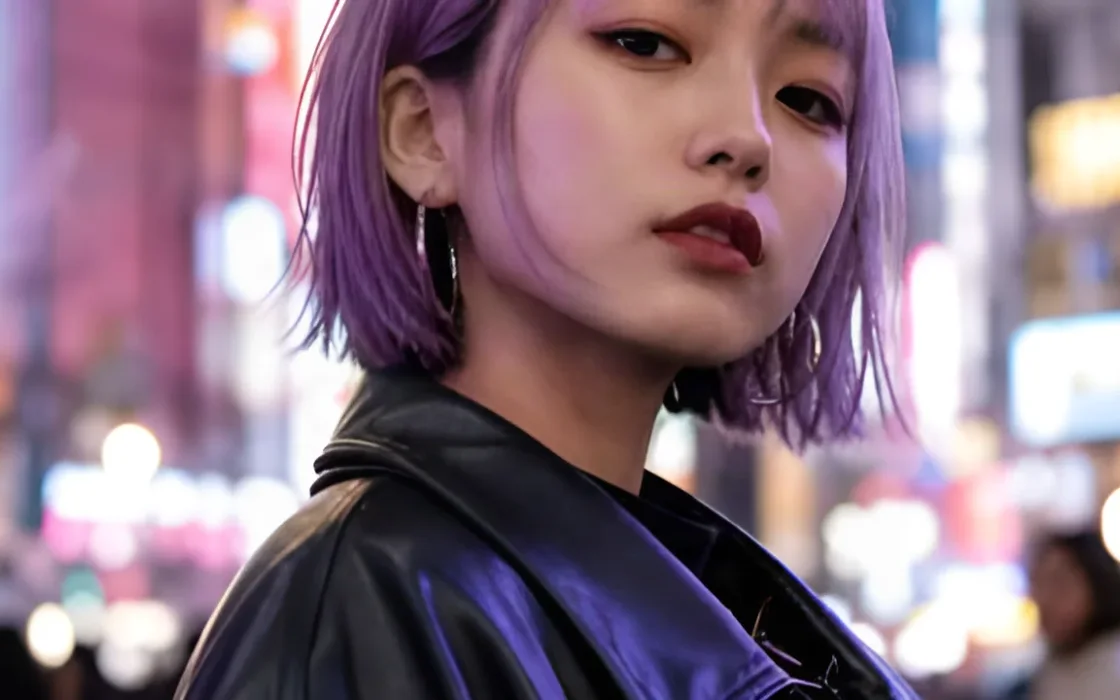
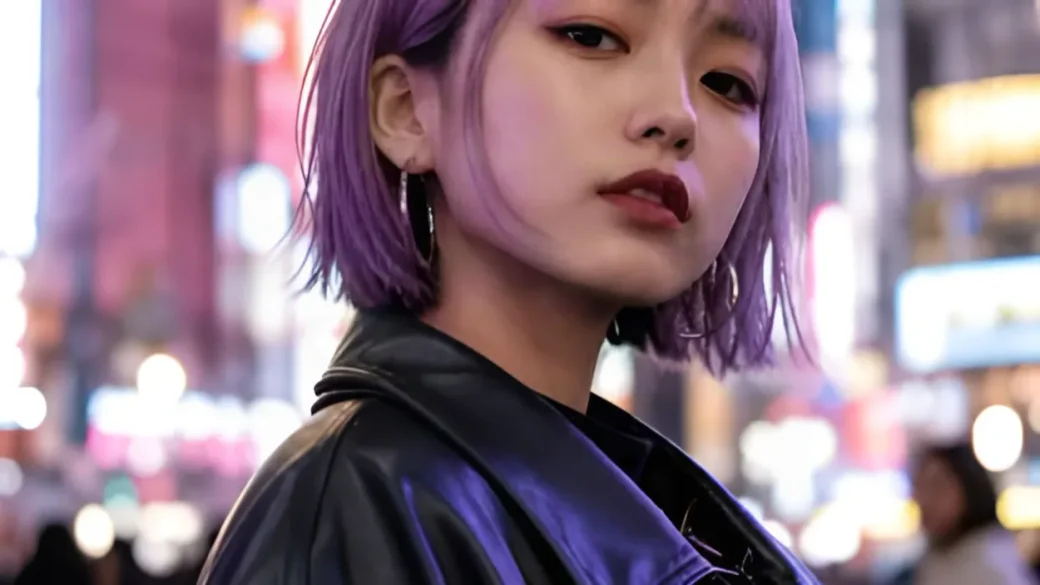
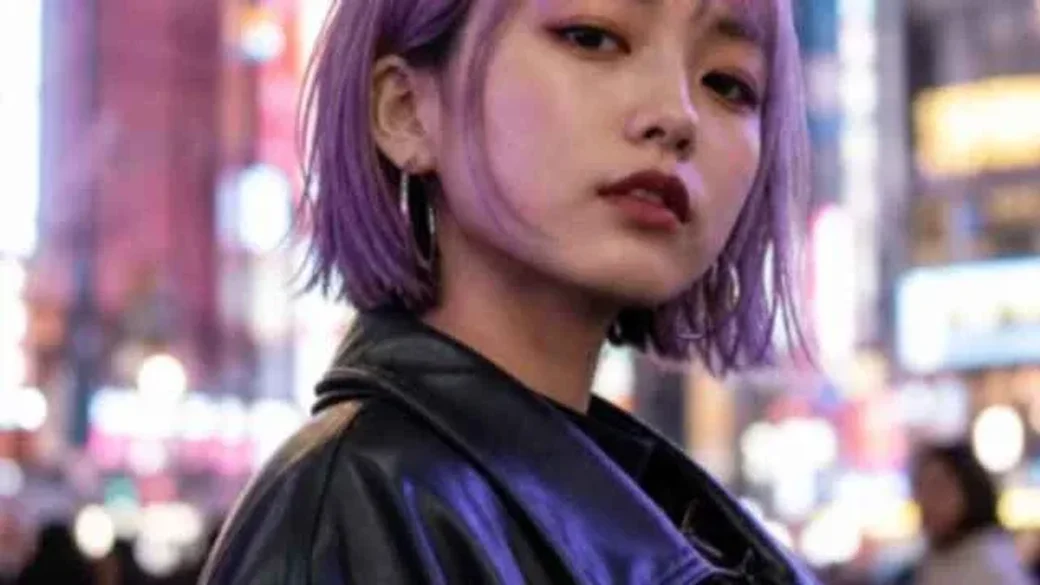
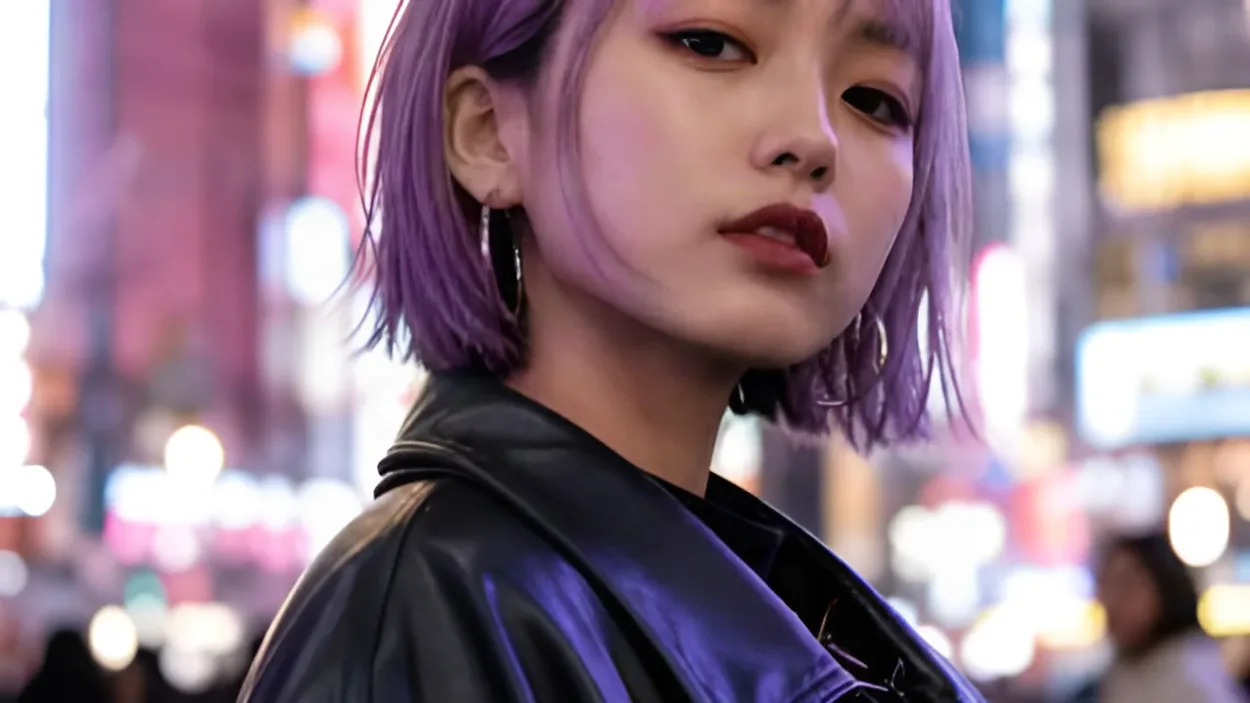
Larger purple-haired portrait showing the eyes and hairline under neon light
Source portrait of a purple-haired woman under colored city lights
BeforeAfter

A portrait under neon lighting

The 640 × 360 source became a 1280 × 720 PNG at 2× with Enhance faces off. Compare the eyes and hairline under colored light.

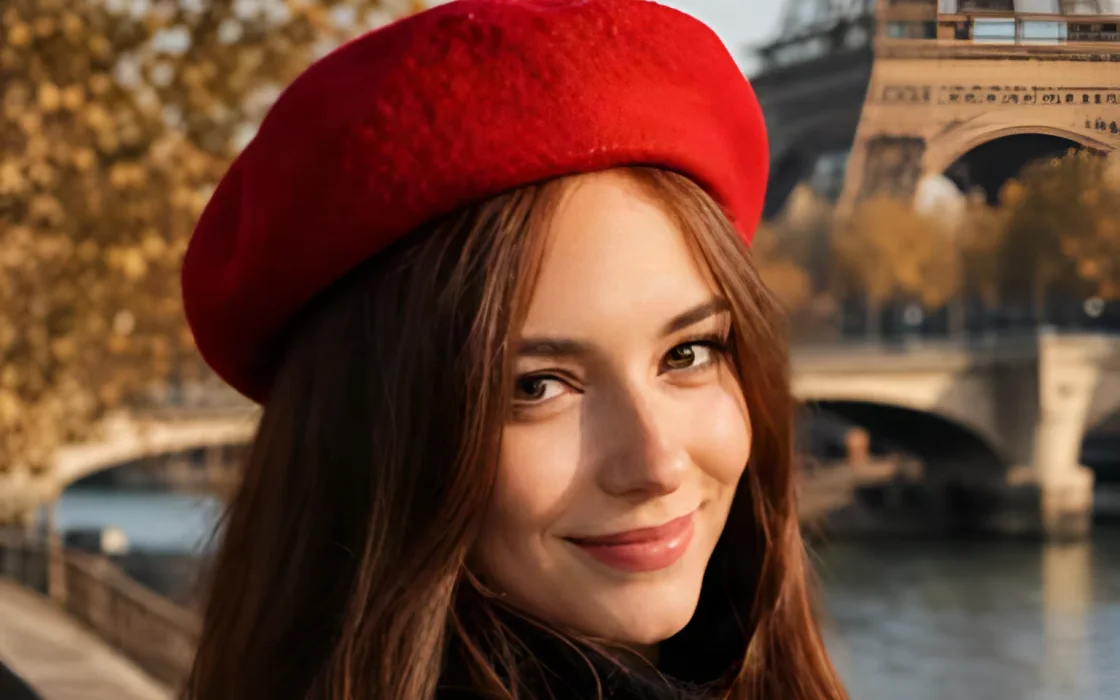
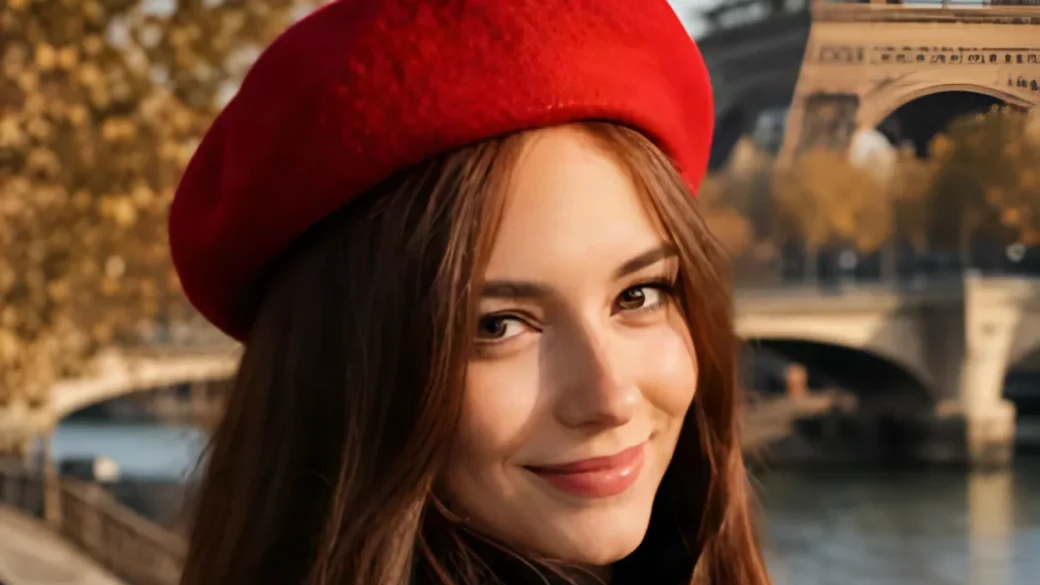
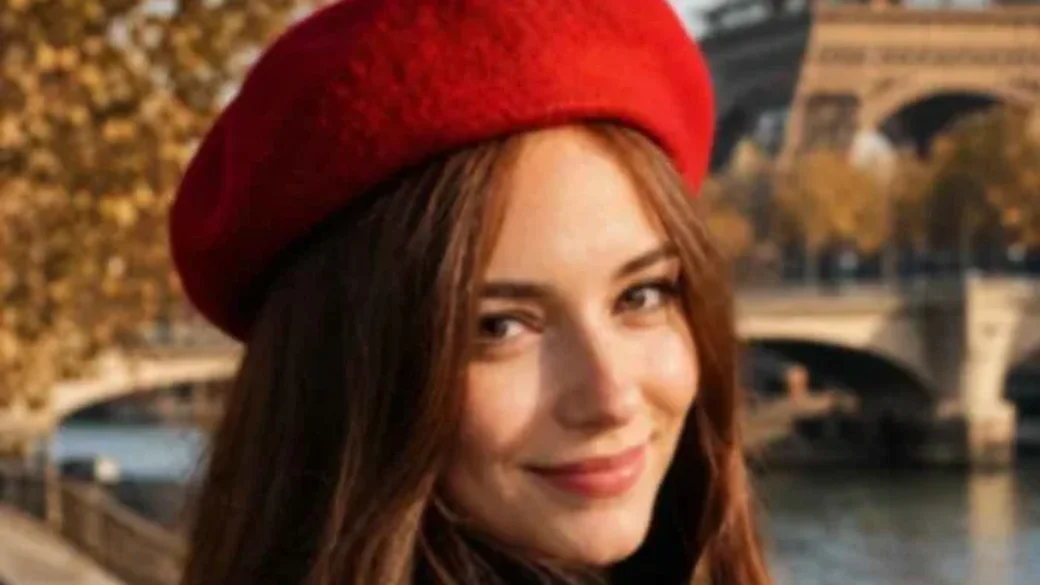
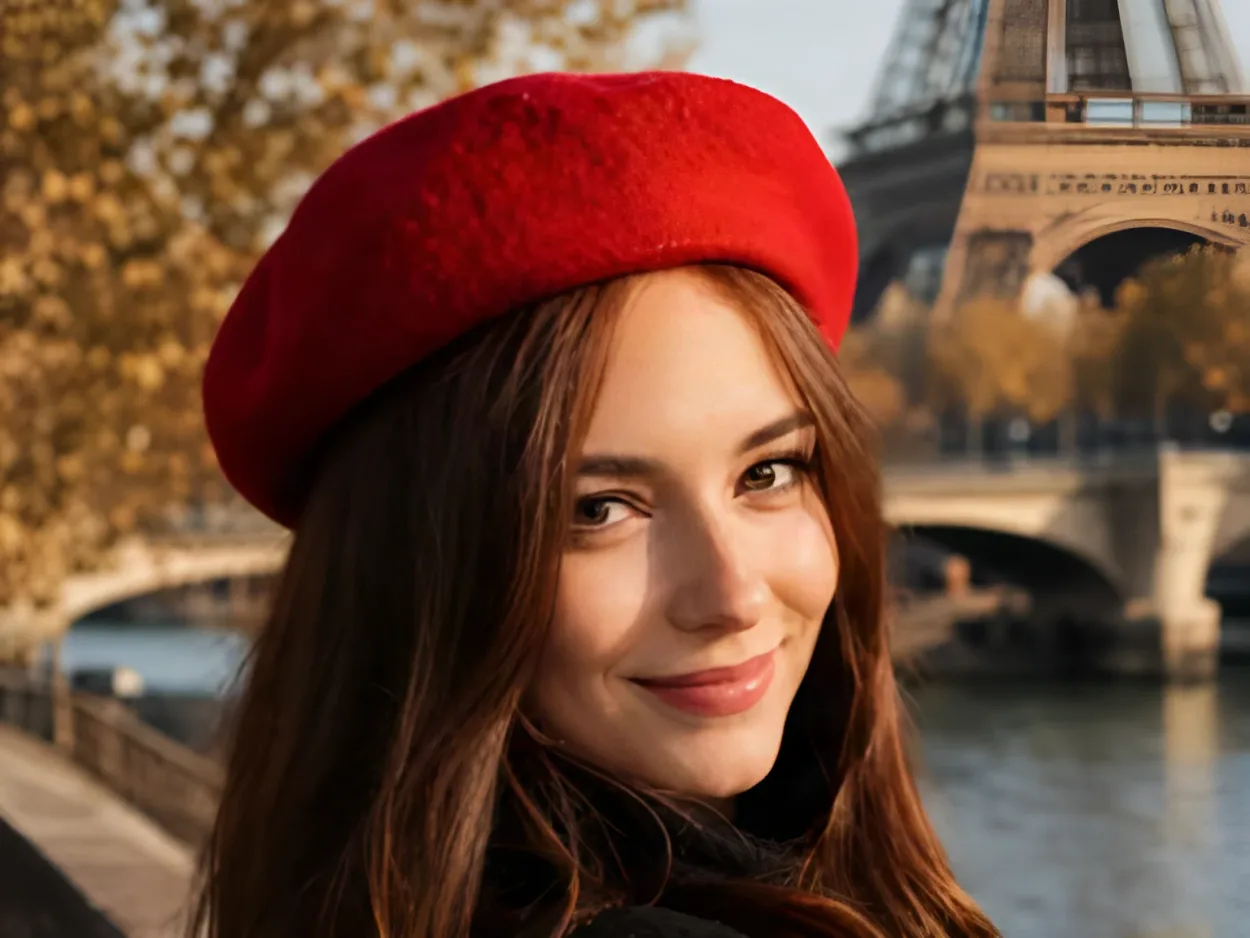
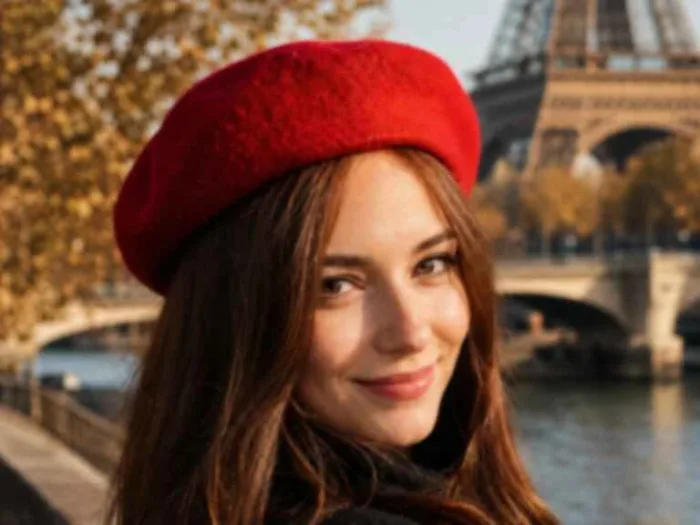
Enlarged detail showing the red beret and face against the city backdrop
Source detail of a woman in a red beret with a tower behind her
BeforeAfter

A red beret in the city

The 768 × 576 source became a 1536 × 1152 image at 2×. These detail previews keep the same crop so you can inspect the face and beret.

Features

Optional face enhancement in the portrait upscaler

A portrait upscaler gives you a larger frame and a choice about how to handle facial details.

Enlarge the whole frame

The portrait upscaler multiplies both dimensions by the chosen factor. Your subject, surroundings and margins stay together, leaving you room to place the photo differently across profile and print layouts. At 2×, a headshot 768 pixels wide becomes 1536 pixels wide. You can decide how to crop it later in your editor.

Choose my portrait
Silver-haired portrait after a 2× Photo upscale
Silver-haired portrait before enlargement
Source2× · Enhance faces off

Decide whether to enhance faces

The portrait upscaler offers Enhance faces for a small or soft face that needs more definition around the eyes, brows or mouth. It can also change details such as a lip outline, eyebrow or reflection in a lens. Leave it off for a standard Photo upscale whenever those details deserve extra care.

Choose my portrait
The same family portrait after 2× enlargement with Enhance faces on
A softened family portrait with a visible crease
Source2× · Enhance faces on

Look closely before replacing an original

Use the comparison to check eyes, teeth, glasses and hair edges at the size you intend to share. For heavily compressed images or small faces in a group, judge each face separately. A larger result has more pixels, but the model can still infer some fine details.

Choose my portrait
The same purple-haired portrait after a 2× Photo upscale
Purple-haired portrait under neon lights before enlargement
Source2× · Enhance faces off

Download the dimensions you chose

The portrait upscaler shows the proposed width and height before you start, so you can compare the output with your avatar crop, page layout or finished portrait print. The available factors depend on the uploaded dimensions. The result is a PNG with the whole image intact, including the setting around the subject.

Choose my portrait
The same red-beret portrait after 2× enlargement
Portrait of a woman in a red beret with a tower in the background
Source2× Photo output

How it works

How to use the portrait upscaler

Begin with an original photo in the portrait upscaler and keep the full frame in your enlarged PNG. Choose standard enlargement or add face enhancement before you process the image.

The same silver-haired portrait before and after a Photo upscale
  1. 1

    Add your portrait

    Pick a still JPG, PNG or WebP up to 20 MB. Choose the sharpest source you have if the appearance of the face matters. Keep the original crop if you plan to make several versions.

  2. 2

    Choose a factor and face treatment

    Choose the size you need in the portrait upscaler. Use standard Photo mode for the full frame, or switch on Enhance faces for portraits where you want more definition around the eyes and mouth.

  3. 3

    Review and save the PNG

    Compare the face and the full frame with the source in the portrait upscaler. Keep the version that suits your project, then download the full-size PNG and make your final crop in your layout.

Use cases

When to use a portrait upscaler

A portrait upscaler gives you a larger full frame for a headshot, album or print. Choose the crop afterward so you can keep a file for each layout.

Profile pictures and headshots

Start with the highest-resolution headshot you can find. Make a larger copy in the portrait upscaler before choosing the final avatar crop. You have more room to place the head and shoulders while keeping a full portrait for other layouts.
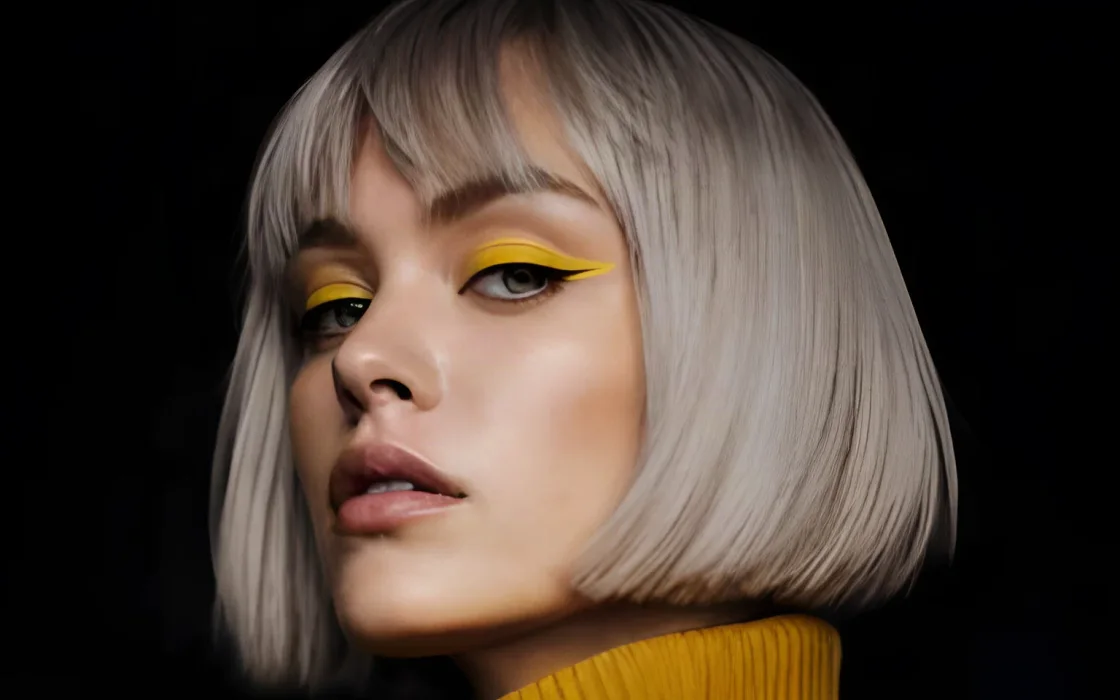
Detail of silver hair and eye makeup in an enlarged headshot

Scanned family portraits

Keep the original scan alongside the copy you make in the portrait upscaler. When testing Enhance faces on a family photograph, compare expressions and teeth with the scan before choosing the version you want to place in the album.

Family portrait after enlargement with the original composition retained

Low-light and event portraits

For a low-light event photograph, the portrait upscaler keeps the original composition in the larger copy. Before choosing a close crop for your gallery, compare the eyes and hairline at the intended size and decide whether the face treatment suits the original lighting.

Night portrait with colored lights in the background

Environmental portraits

When a studio, street or landscape is part of the portrait, keep it in the frame as you upscale. View the background and subject together before placing the full PNG beside the interview, caption or profile it illustrates.

Outdoor portrait with the city setting retained

Creator stories

How photographers use the portrait upscaler

“I had a small headshot with a soft fringe around the hair. I ran it through the portrait upscaler with Enhance faces off, then placed the PNG into a theater program. I wanted a larger full frame because the red collar and the edges of the backdrop were part of the design.”
Celia NavarroTheater Program Designer

FAQ

Portrait upscaler FAQ

These portrait upscaler answers explain input formats, how the image keeps its proportions and how to choose the optional face setting.

A portrait upscaler enlarges the entire still photo and returns a PNG. The optional Enhance faces setting can add definition to faces within that frame.

Reviewed by Super Resolution TeamUpdated

Try the portrait upscaler on your next photo

Put your JPG, PNG or WebP into the portrait upscaler. Choose the size and face treatment for your photo, compare with the original, then save the larger PNG for your layout.

Upload my portrait